Shamrock Cakes for St. Patrick’s Day
Looking for a fun and delicious treat to leave out for the leprechaun this St. Patrick’s Day?
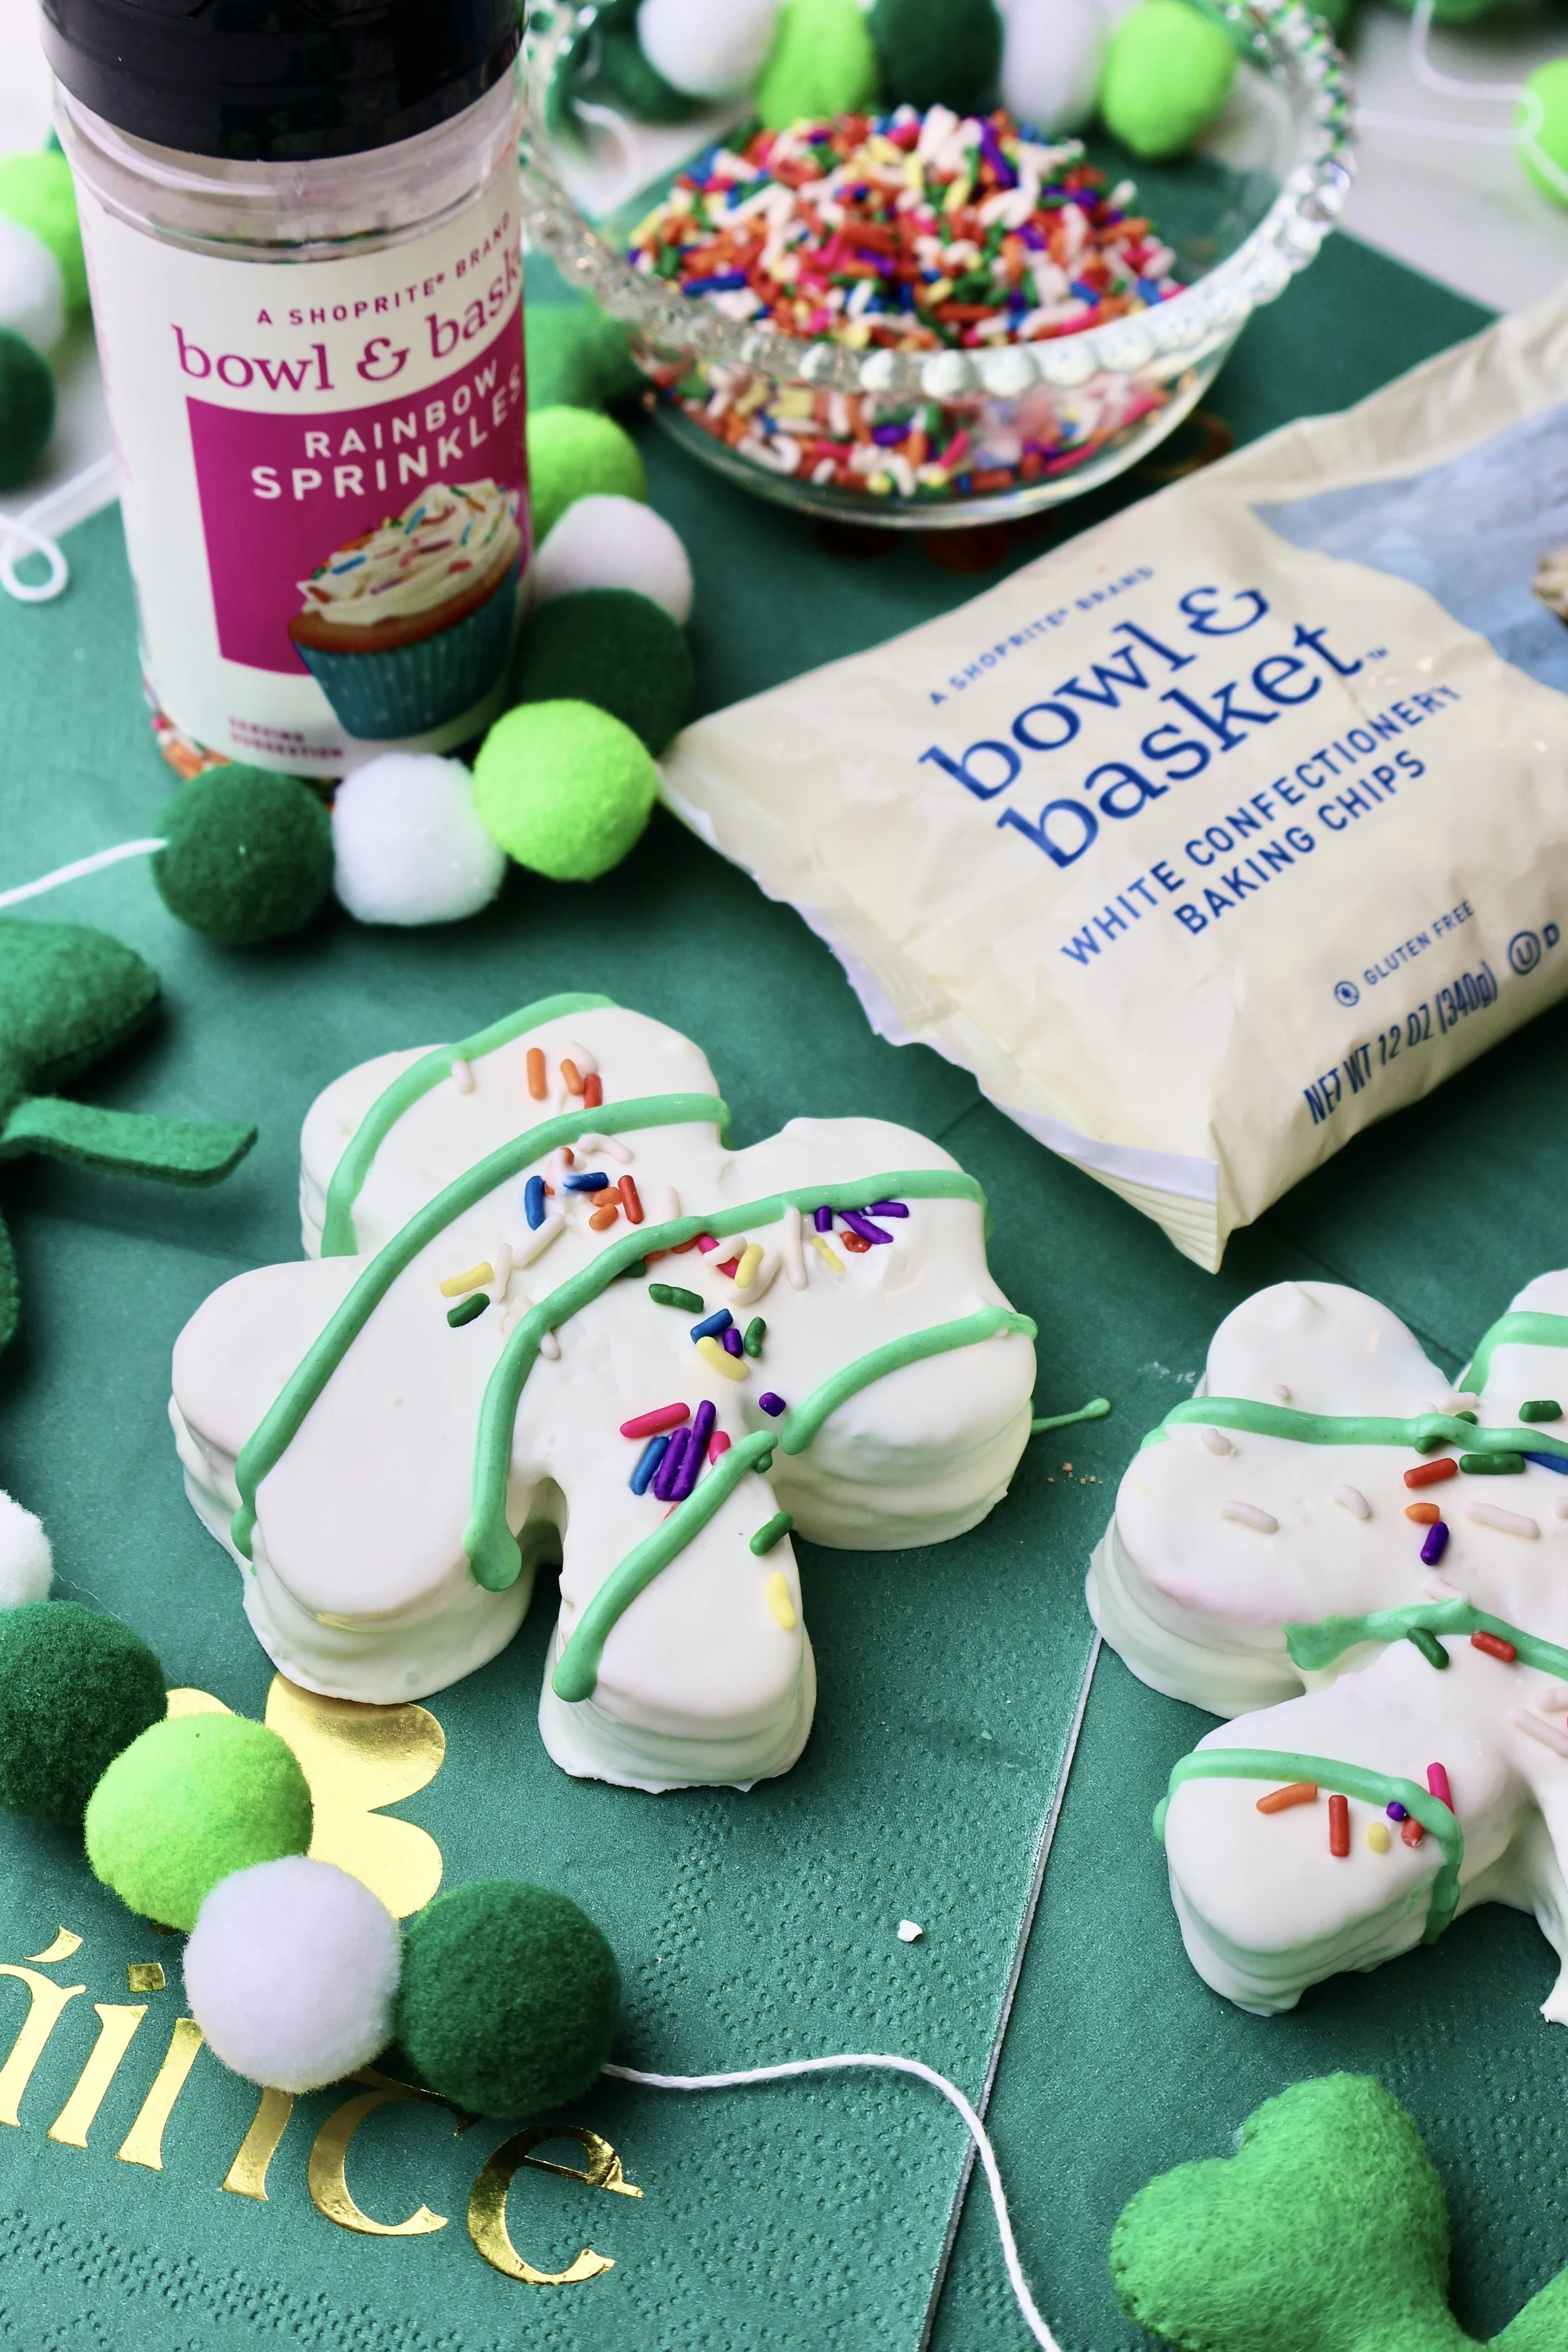
These magical shamrock shaped treats have rainbow cake layers, a fluffy homemade marshmallow fluff filling, and a smooth white candy melt coating. The best part? We’re making them with Bowl & Basket ingredients from ShopRite.
Whether you’re looking for St. Patrick’s Day dessert ideas or just a fun homemade Little Debbie recipe, this guide will walk you through the step-by-step process to make these magical treats.
Bake the Rainbow Cake Layers
Preheat your oven to 325°F and grease a rimmed jelly roll pan with non-stick baking spray.
Make your cake batter using your favorite recipe or you can use the one that I love to use. Found here
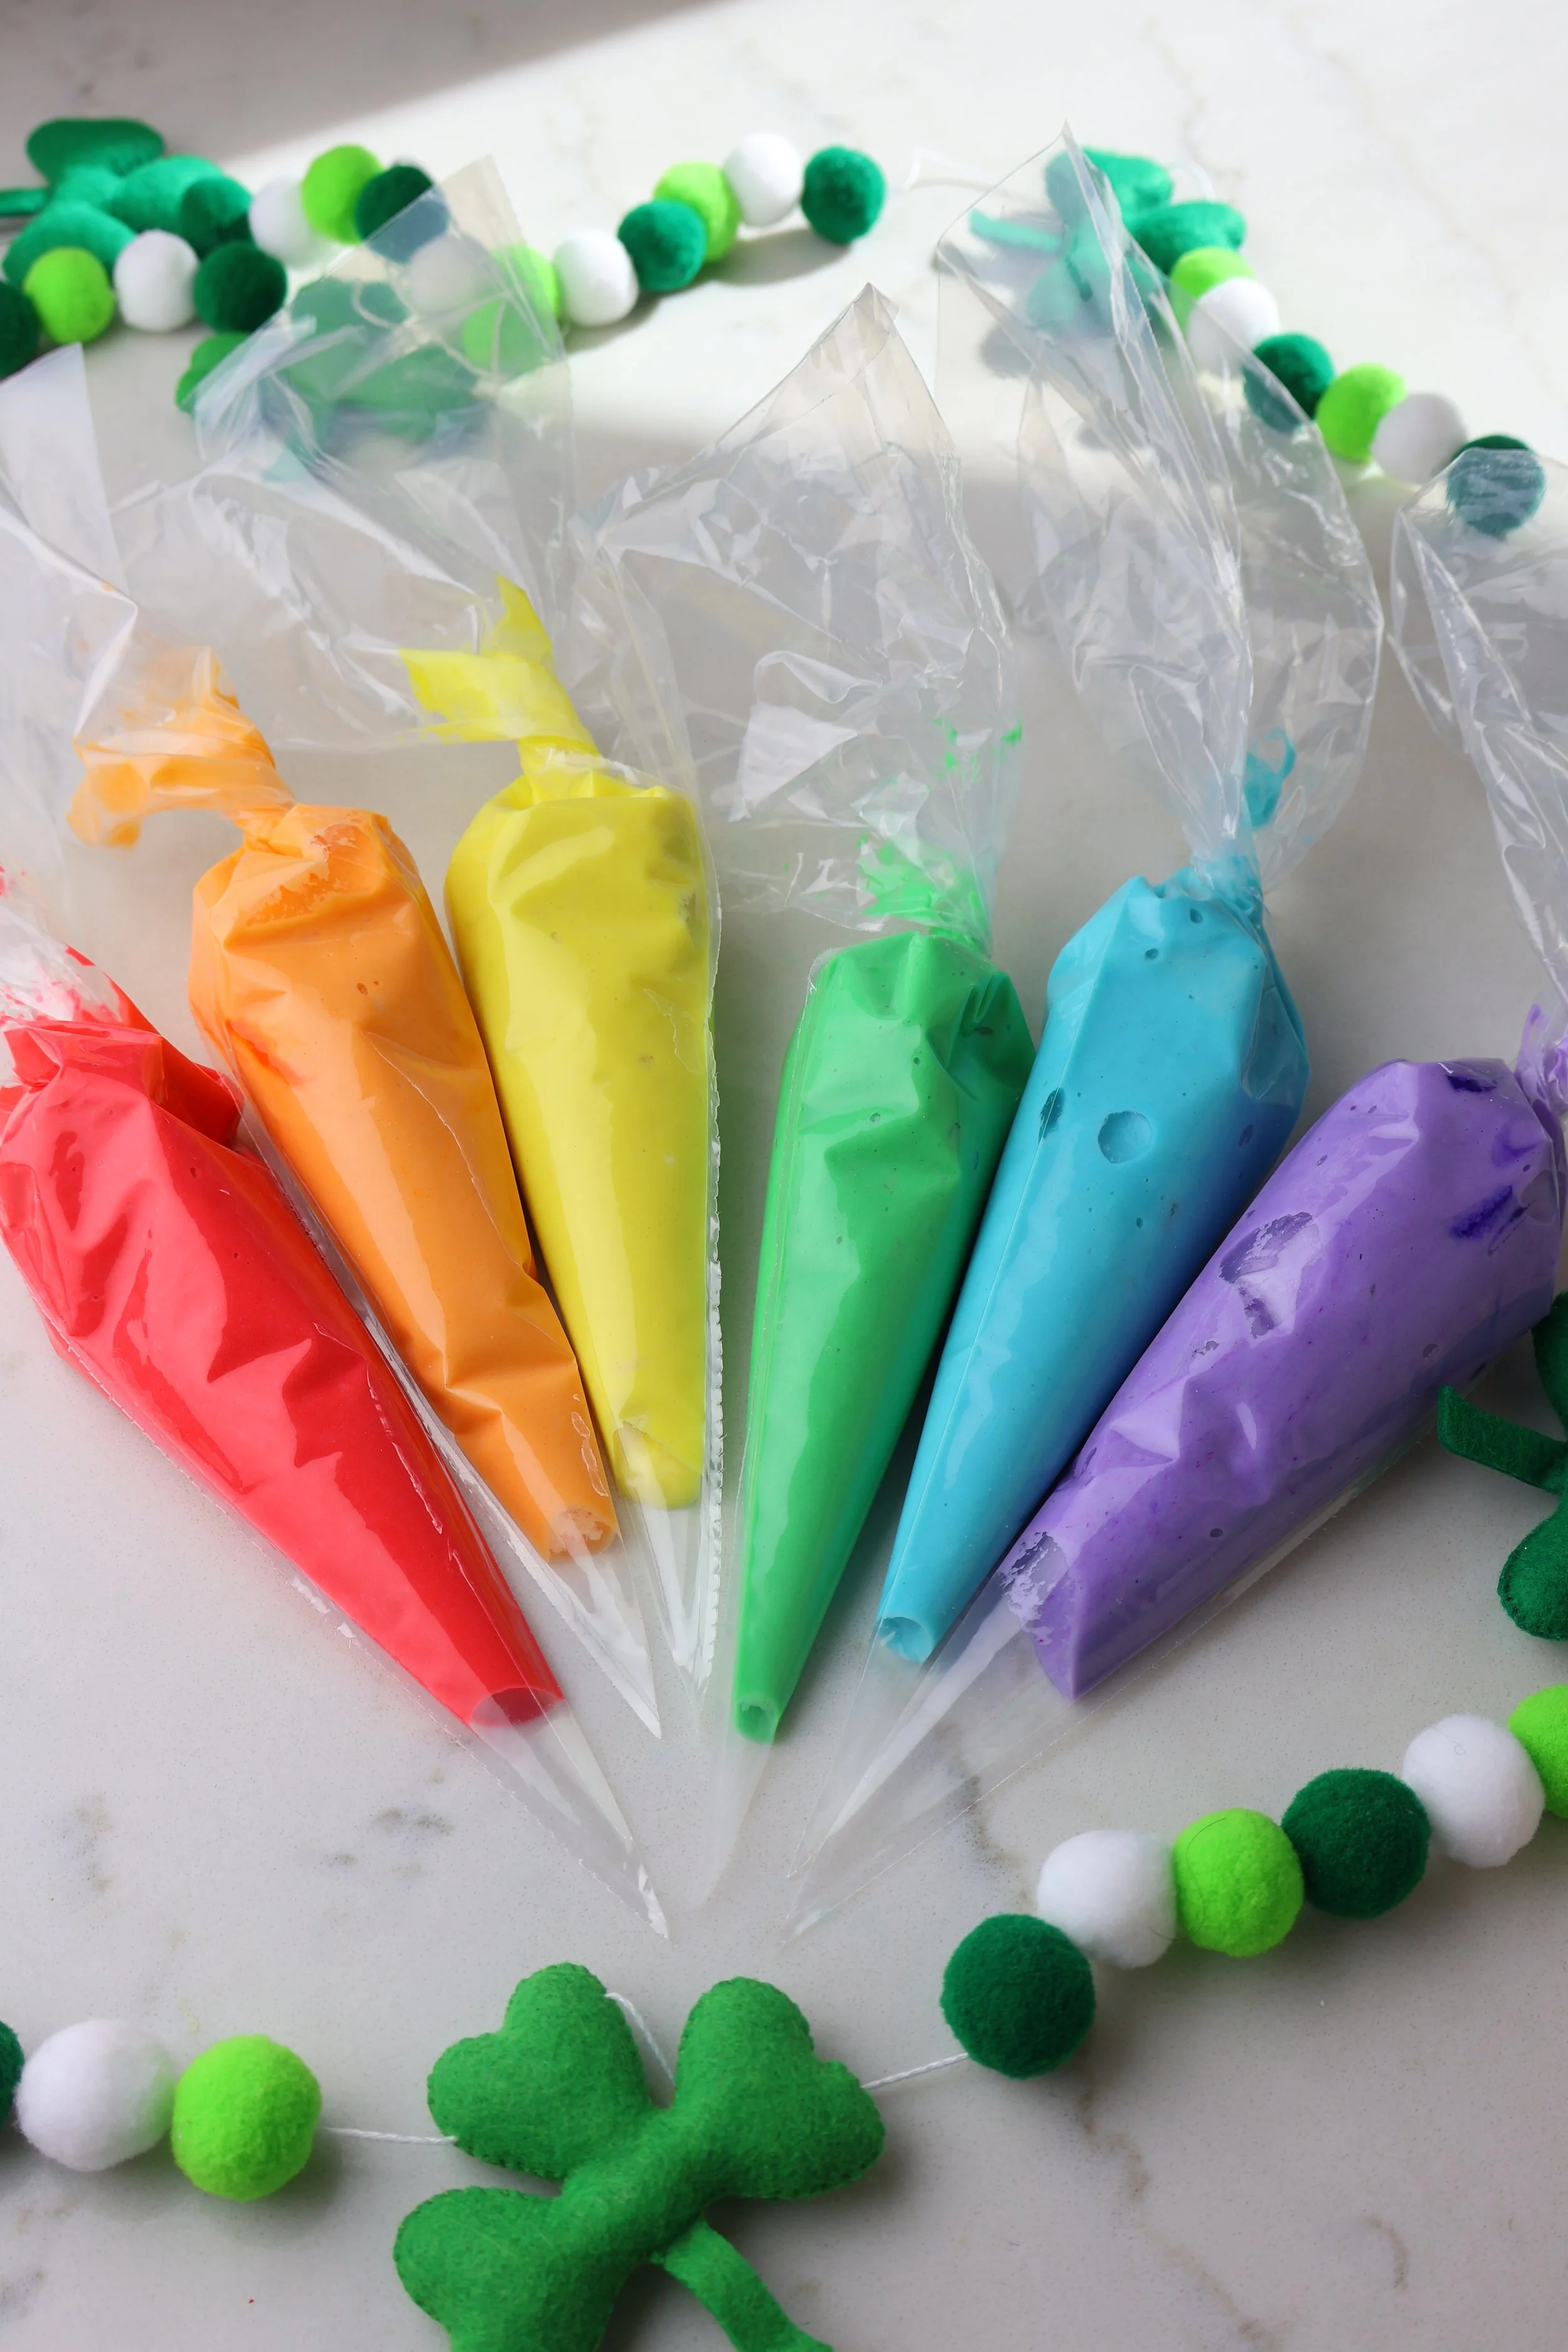
Divide the batter evenly into six bowls and dye each with gel food coloring for each color of the rainbow.
Add each bowl of batter into separate piping bags & cut a small hole. Small enough to create thin strips of color but large enough so it flows out easily.
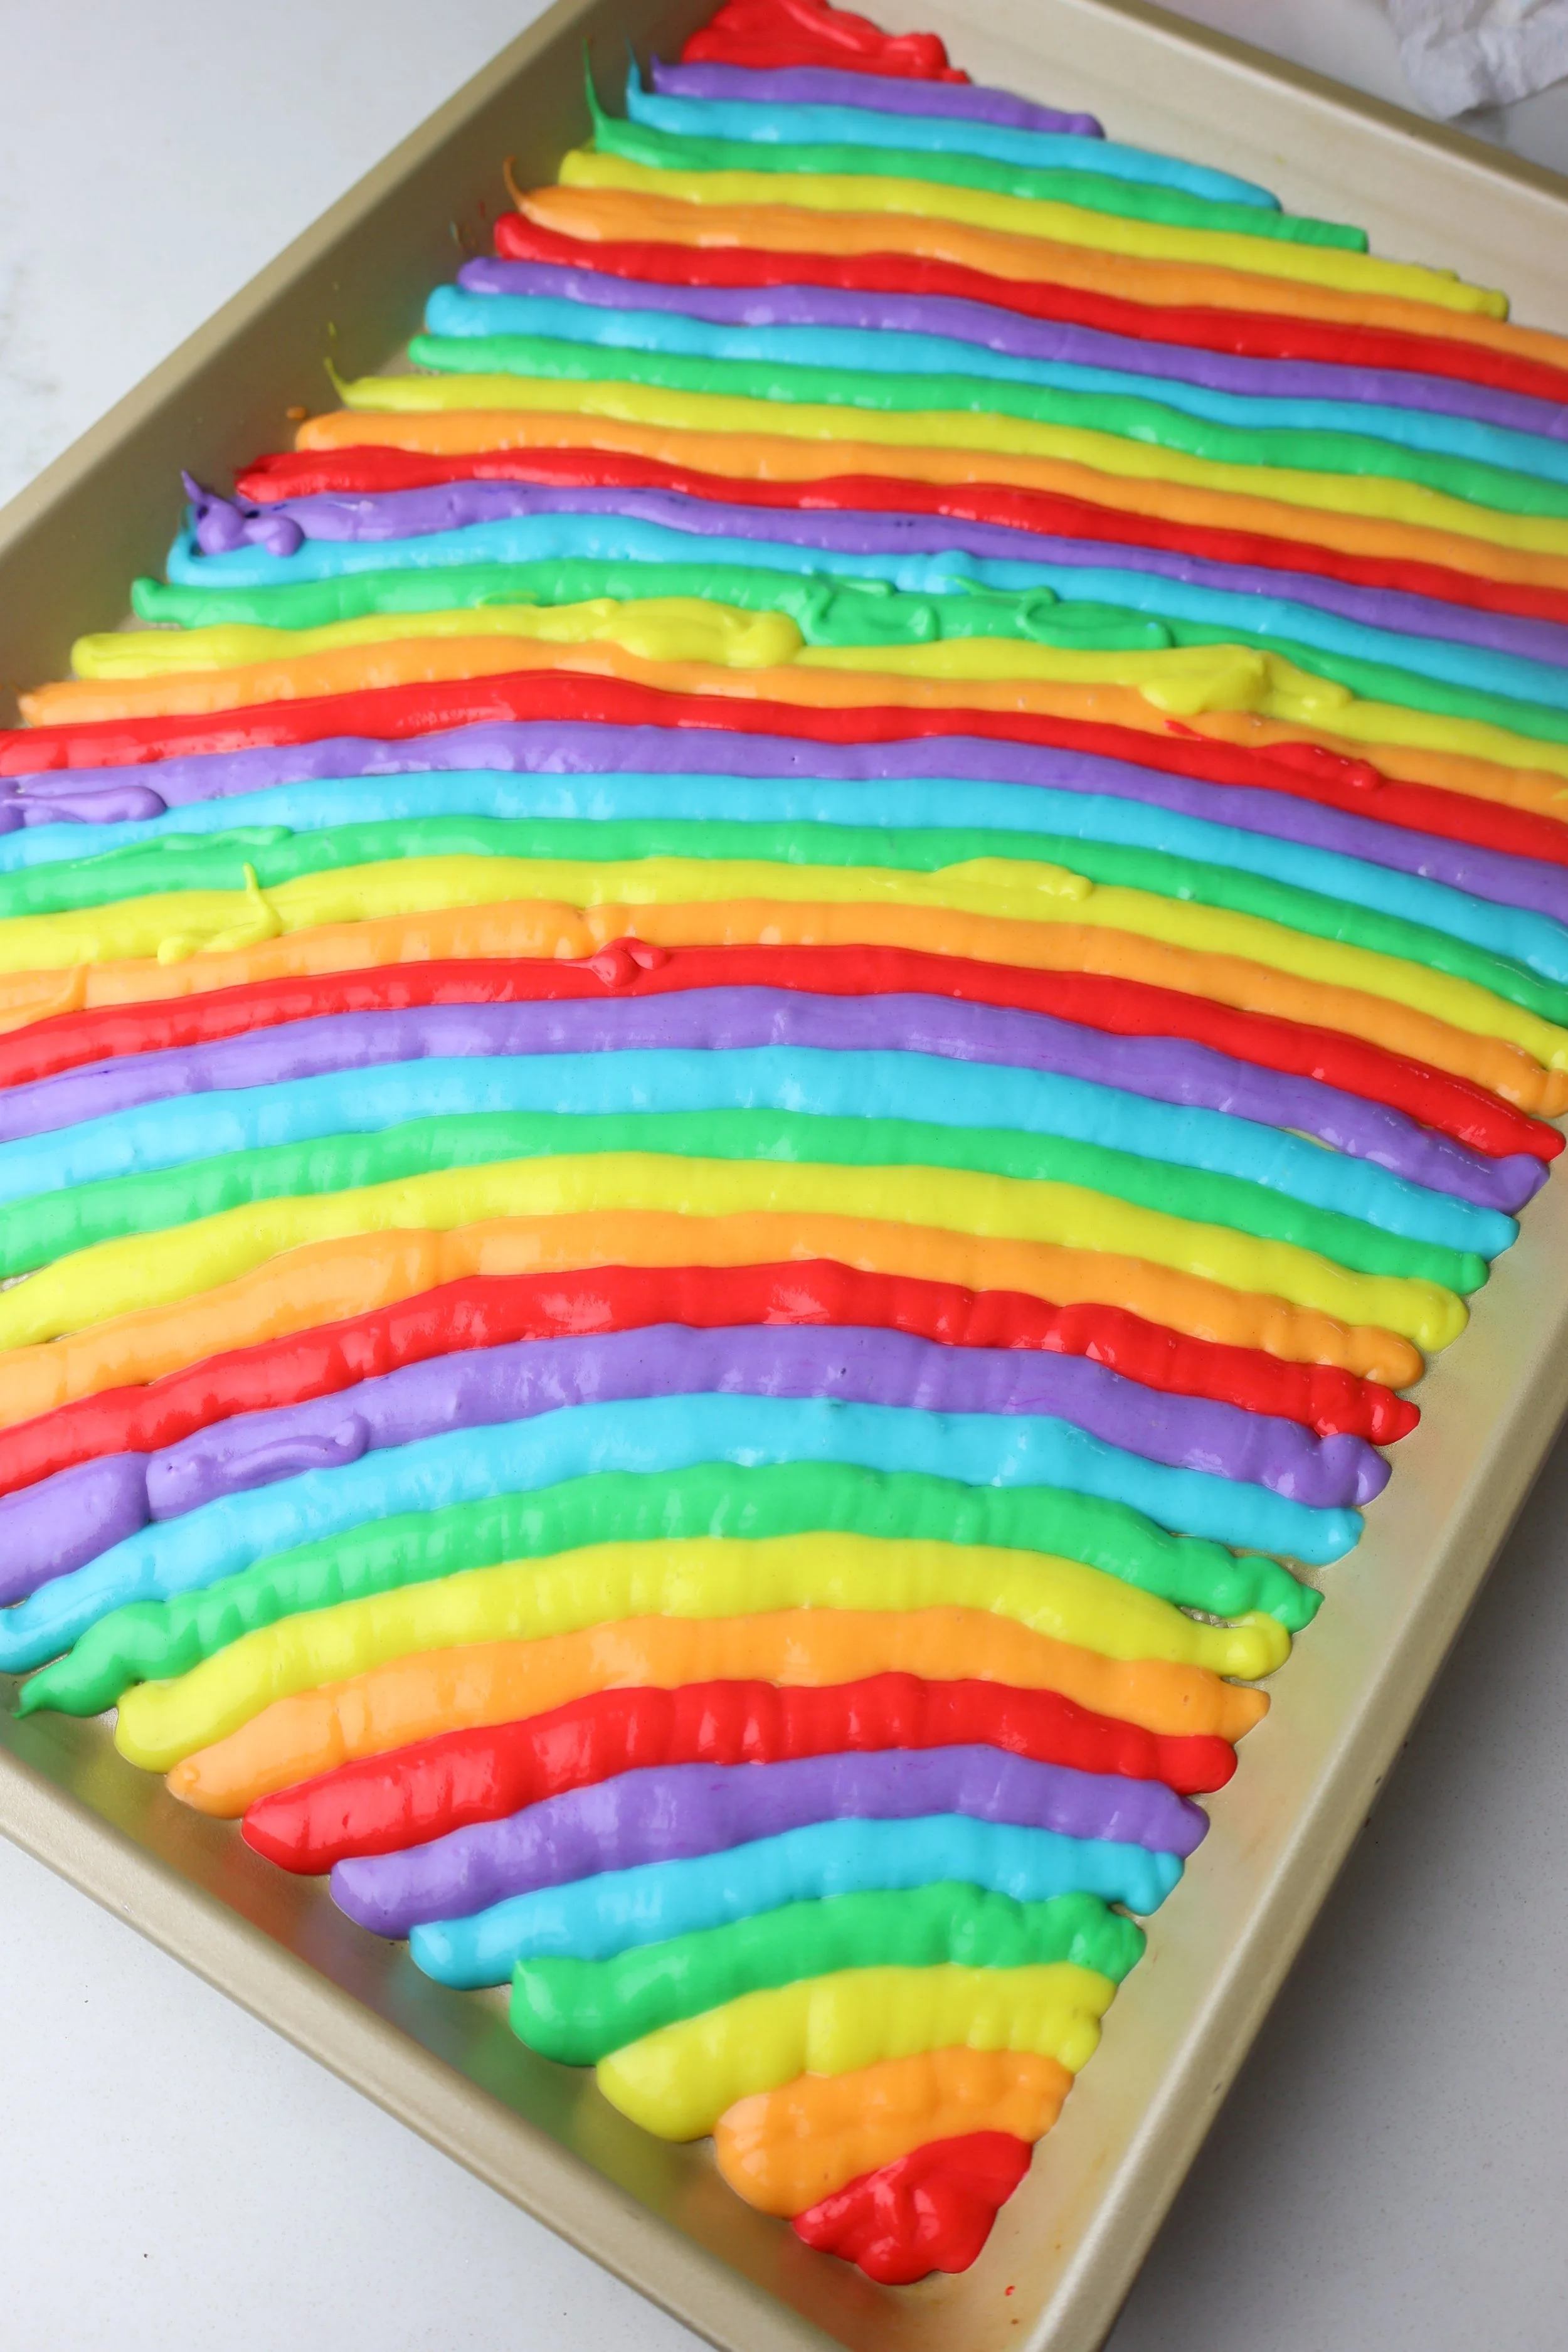
Add thin strips of batter on your prepped pan in the order of the rainbow.
Bake for 10-12 minutes. Let cool completely before cutting out the shamrock shapes.
Make the Marshmallow Fluff Filling
I highly recommend making your own filling as it’s got a really nice, light flavor that doesn’t overpower the cakes. It allows for a really nice flavor balance.
My favorite homemade fluff recipe is from Liv for Cake.
If you plan to go this route like I did, here are a few helpful tips:
You’ll need a candy thermometer. There’s no way around it but it’s super easy to find. I found one very similiar to this at my local grocery store, ShopRite.
You’ll need a stand-mixer with a whisk or a hand-mixer will also work fine
Be very careful when pouring the hot syrup into your egg whites mixture. It is HOT! If you’re using a stand-mixer, take good care not let it hit the whisk to avoid splatter. Try to aim for between the whisk and the bowl.
You can also use store-bought ingredients to make the fluff. You’ll need some Fluff and powdered sugar. Here’s a recipe I’ve used before and it worked great! EASY MARSHMALLOW FLUFF.
Assemble the Shamrock Cakes
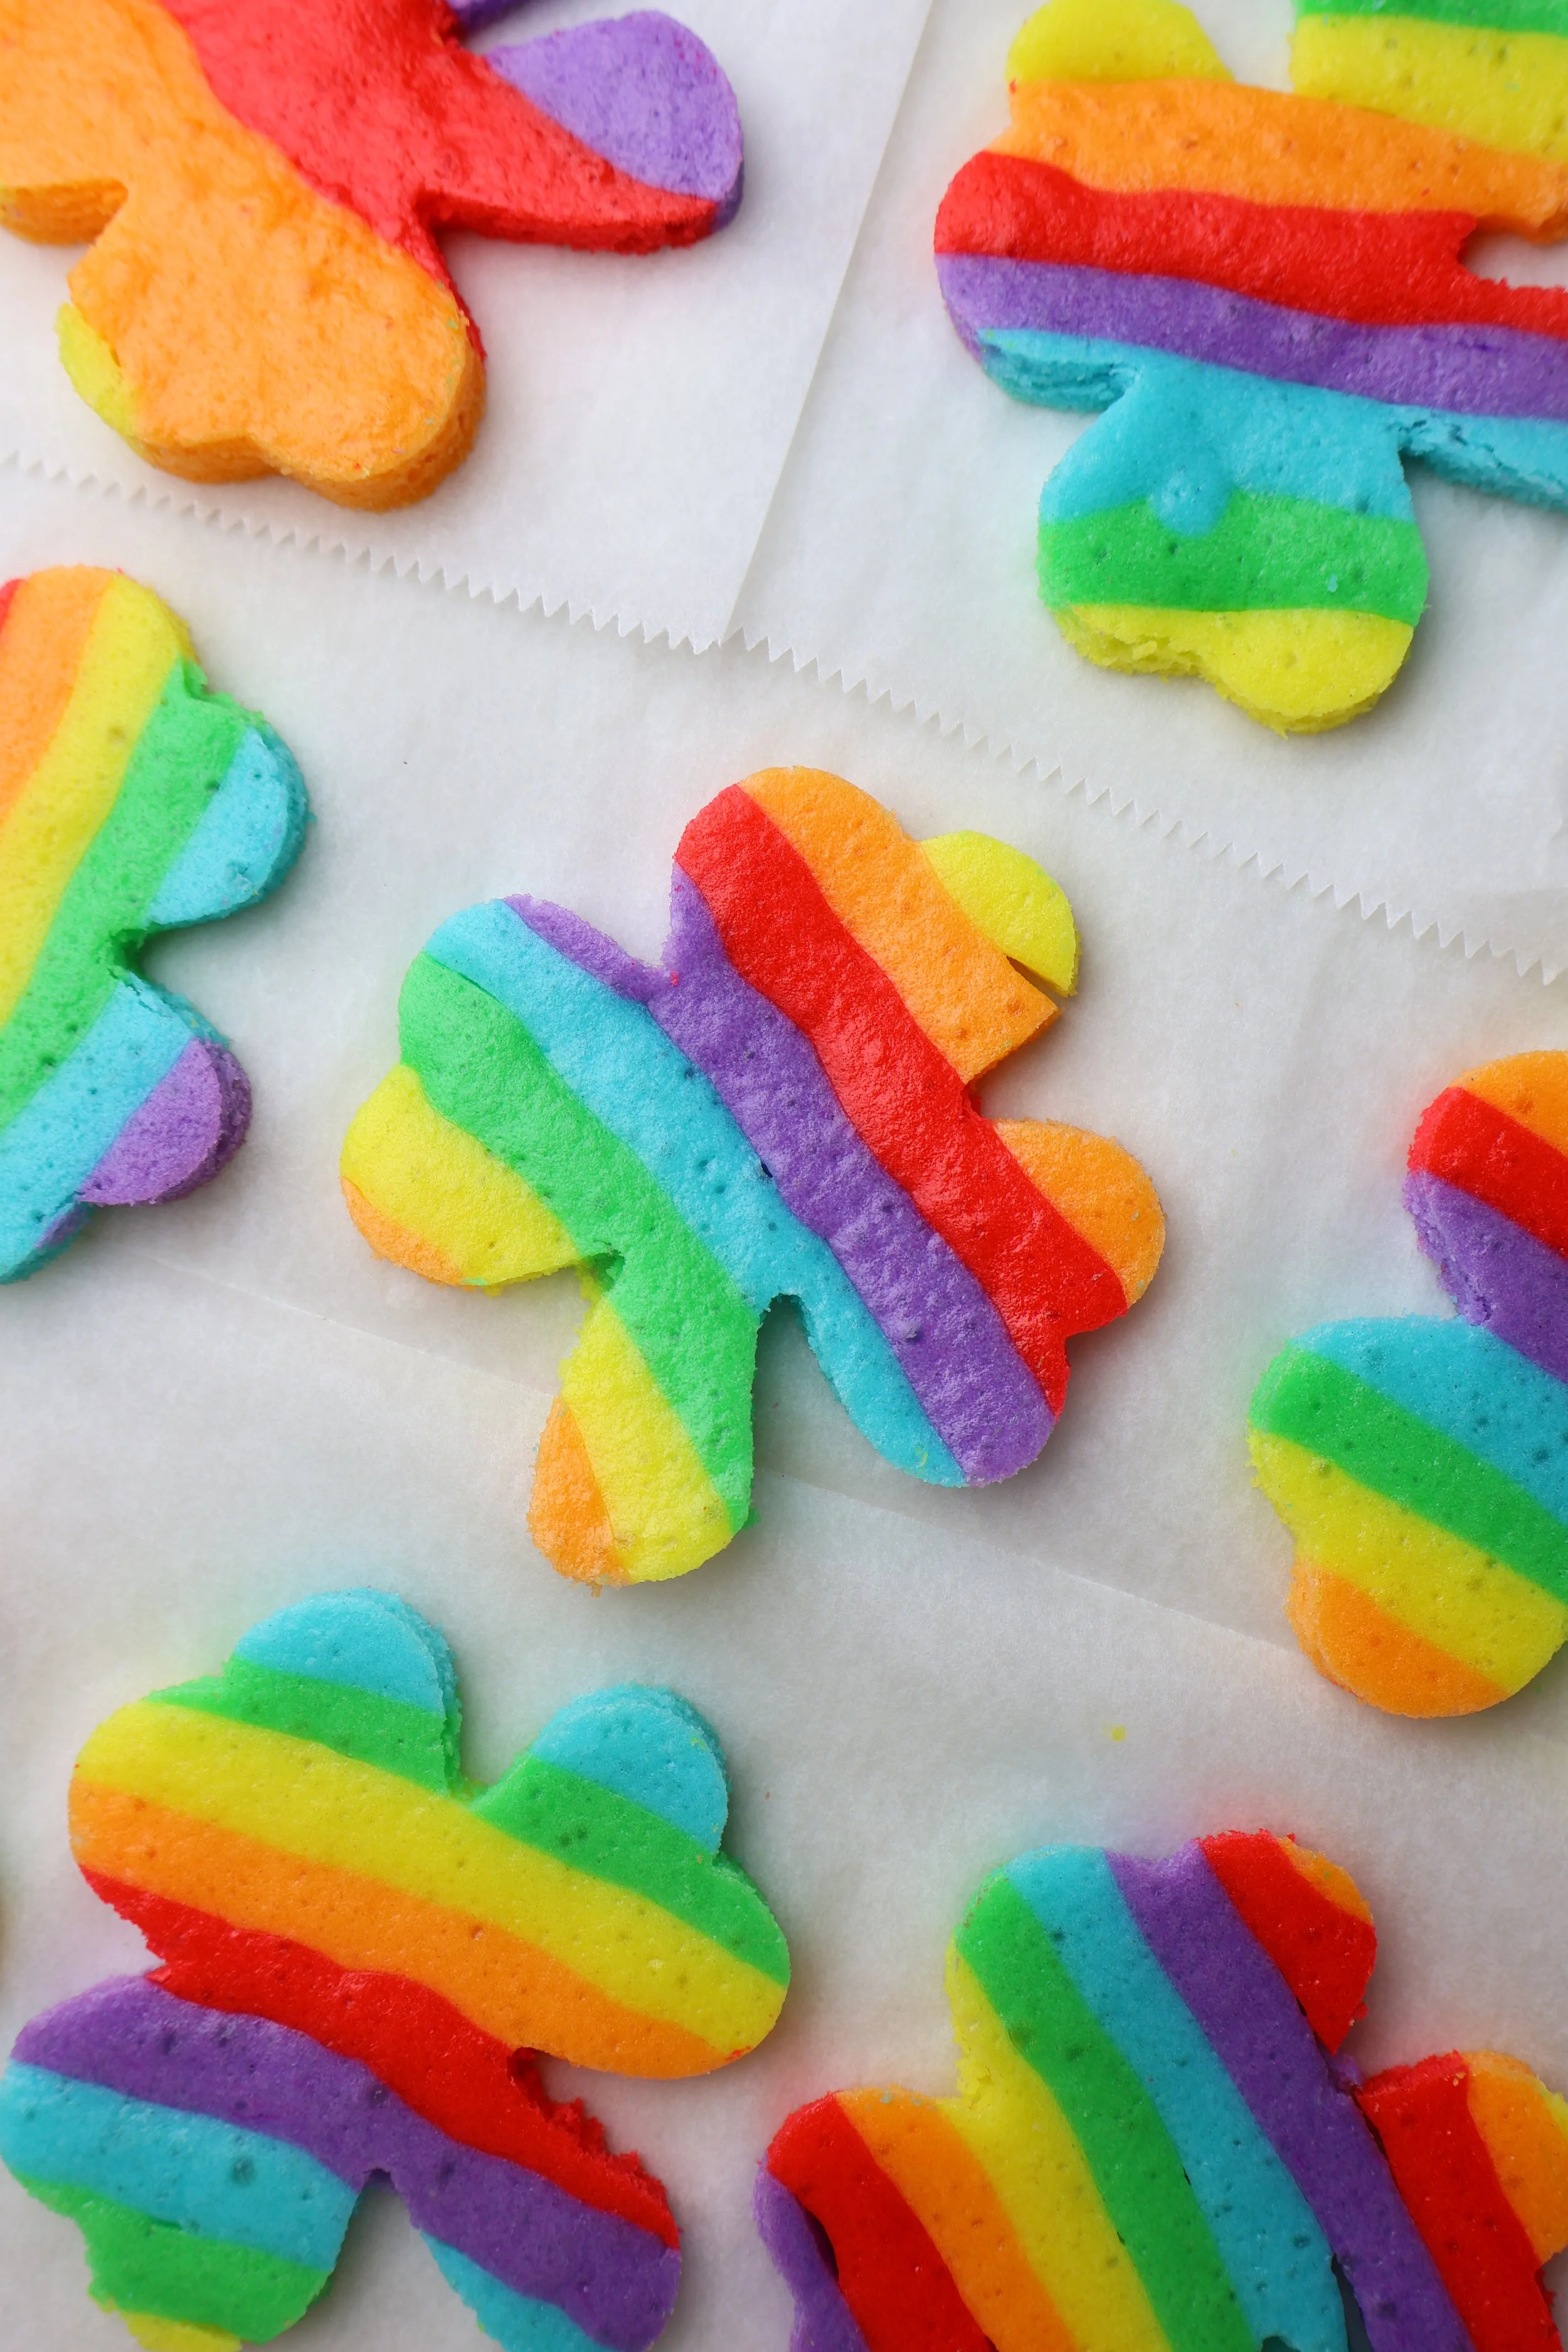
Now that your rainbow cake has cooled, you can start to cut out the shamrock shapes. I used a medium sized shamrock cookie cutter that is 3.75”. Anything larger would be too big and too much cake (dare I say it!). You could choose a smaller cutter for bite sized portions and to end up with more cakes.
Take note when you’re cutting out your shapes to be sure that there’s always a pair. Remember, you’ll need 2 shapes to create one cake.
When you’ve got all of your shapes cut out, you can begin to assemble the cakes.
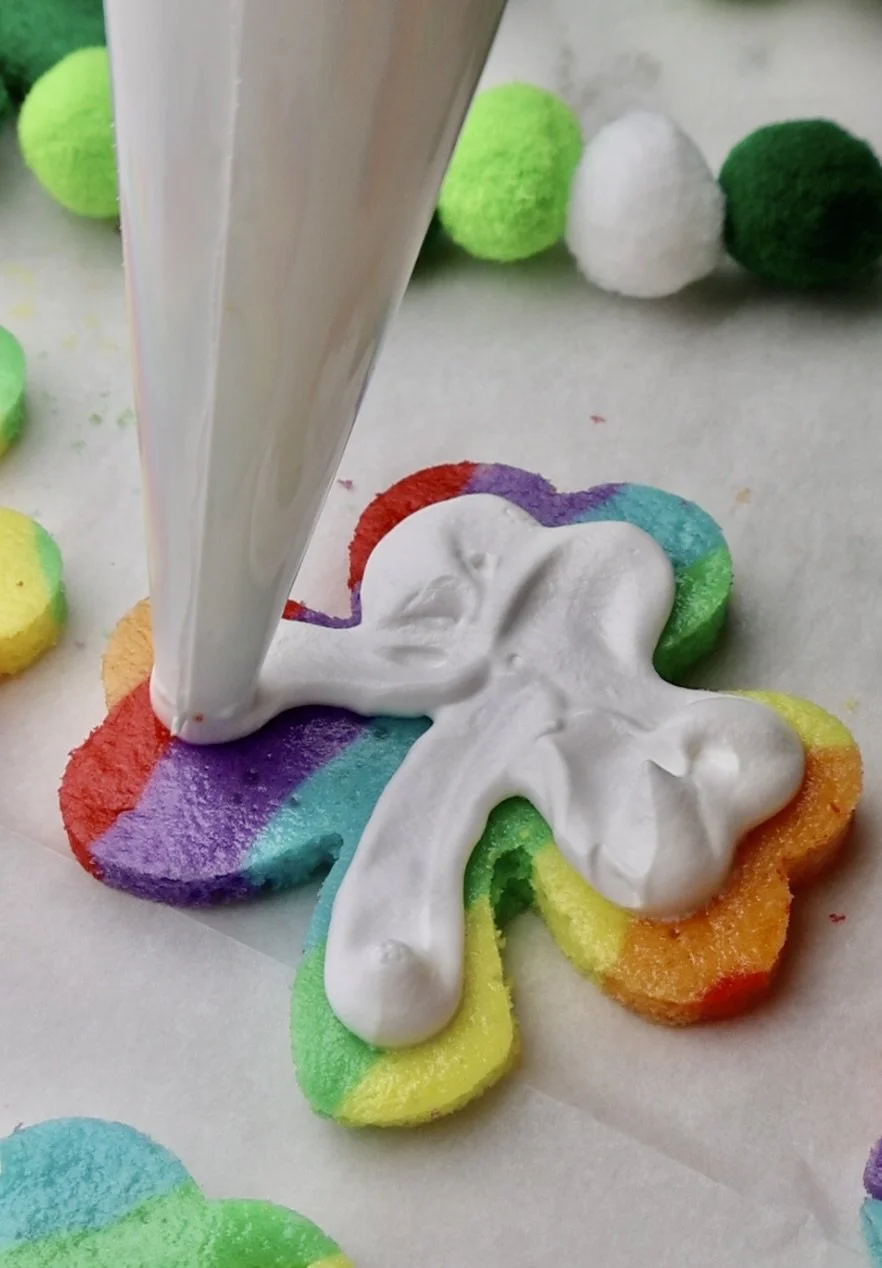
It’s a lot easier to add your marshmallow fluff filling into a piping bag. Be sure not to over fill each cake. When each cake is assembled, place them in the freezer for about an hour. This will help firm up the cakes and get them ready to be dipped in the candy melt coating.
It will help keep the cakes from crumbling apart as you handle them, too.
Coat in White Candy Melts
Time to prepare the candy melt dip! It’s best to opt for a high quality chocolate like Merckens which you can get on Amazon. This is a smooth chocolate that doesn’t require any additional oil to thin it out. It melts quickly, too!
You can melt it in the microwave in a microwave safe dish in 30 second bursts. Be sure to remove the bowl after each time you heat it and stir it around. This will help avoid it burning.
You can also use a melting pot like I use. I like the one from Wilton.
Once the candy is all melted, you can begin to dip your cakes. Use a fork to help manuever the cakes to cover it fully.
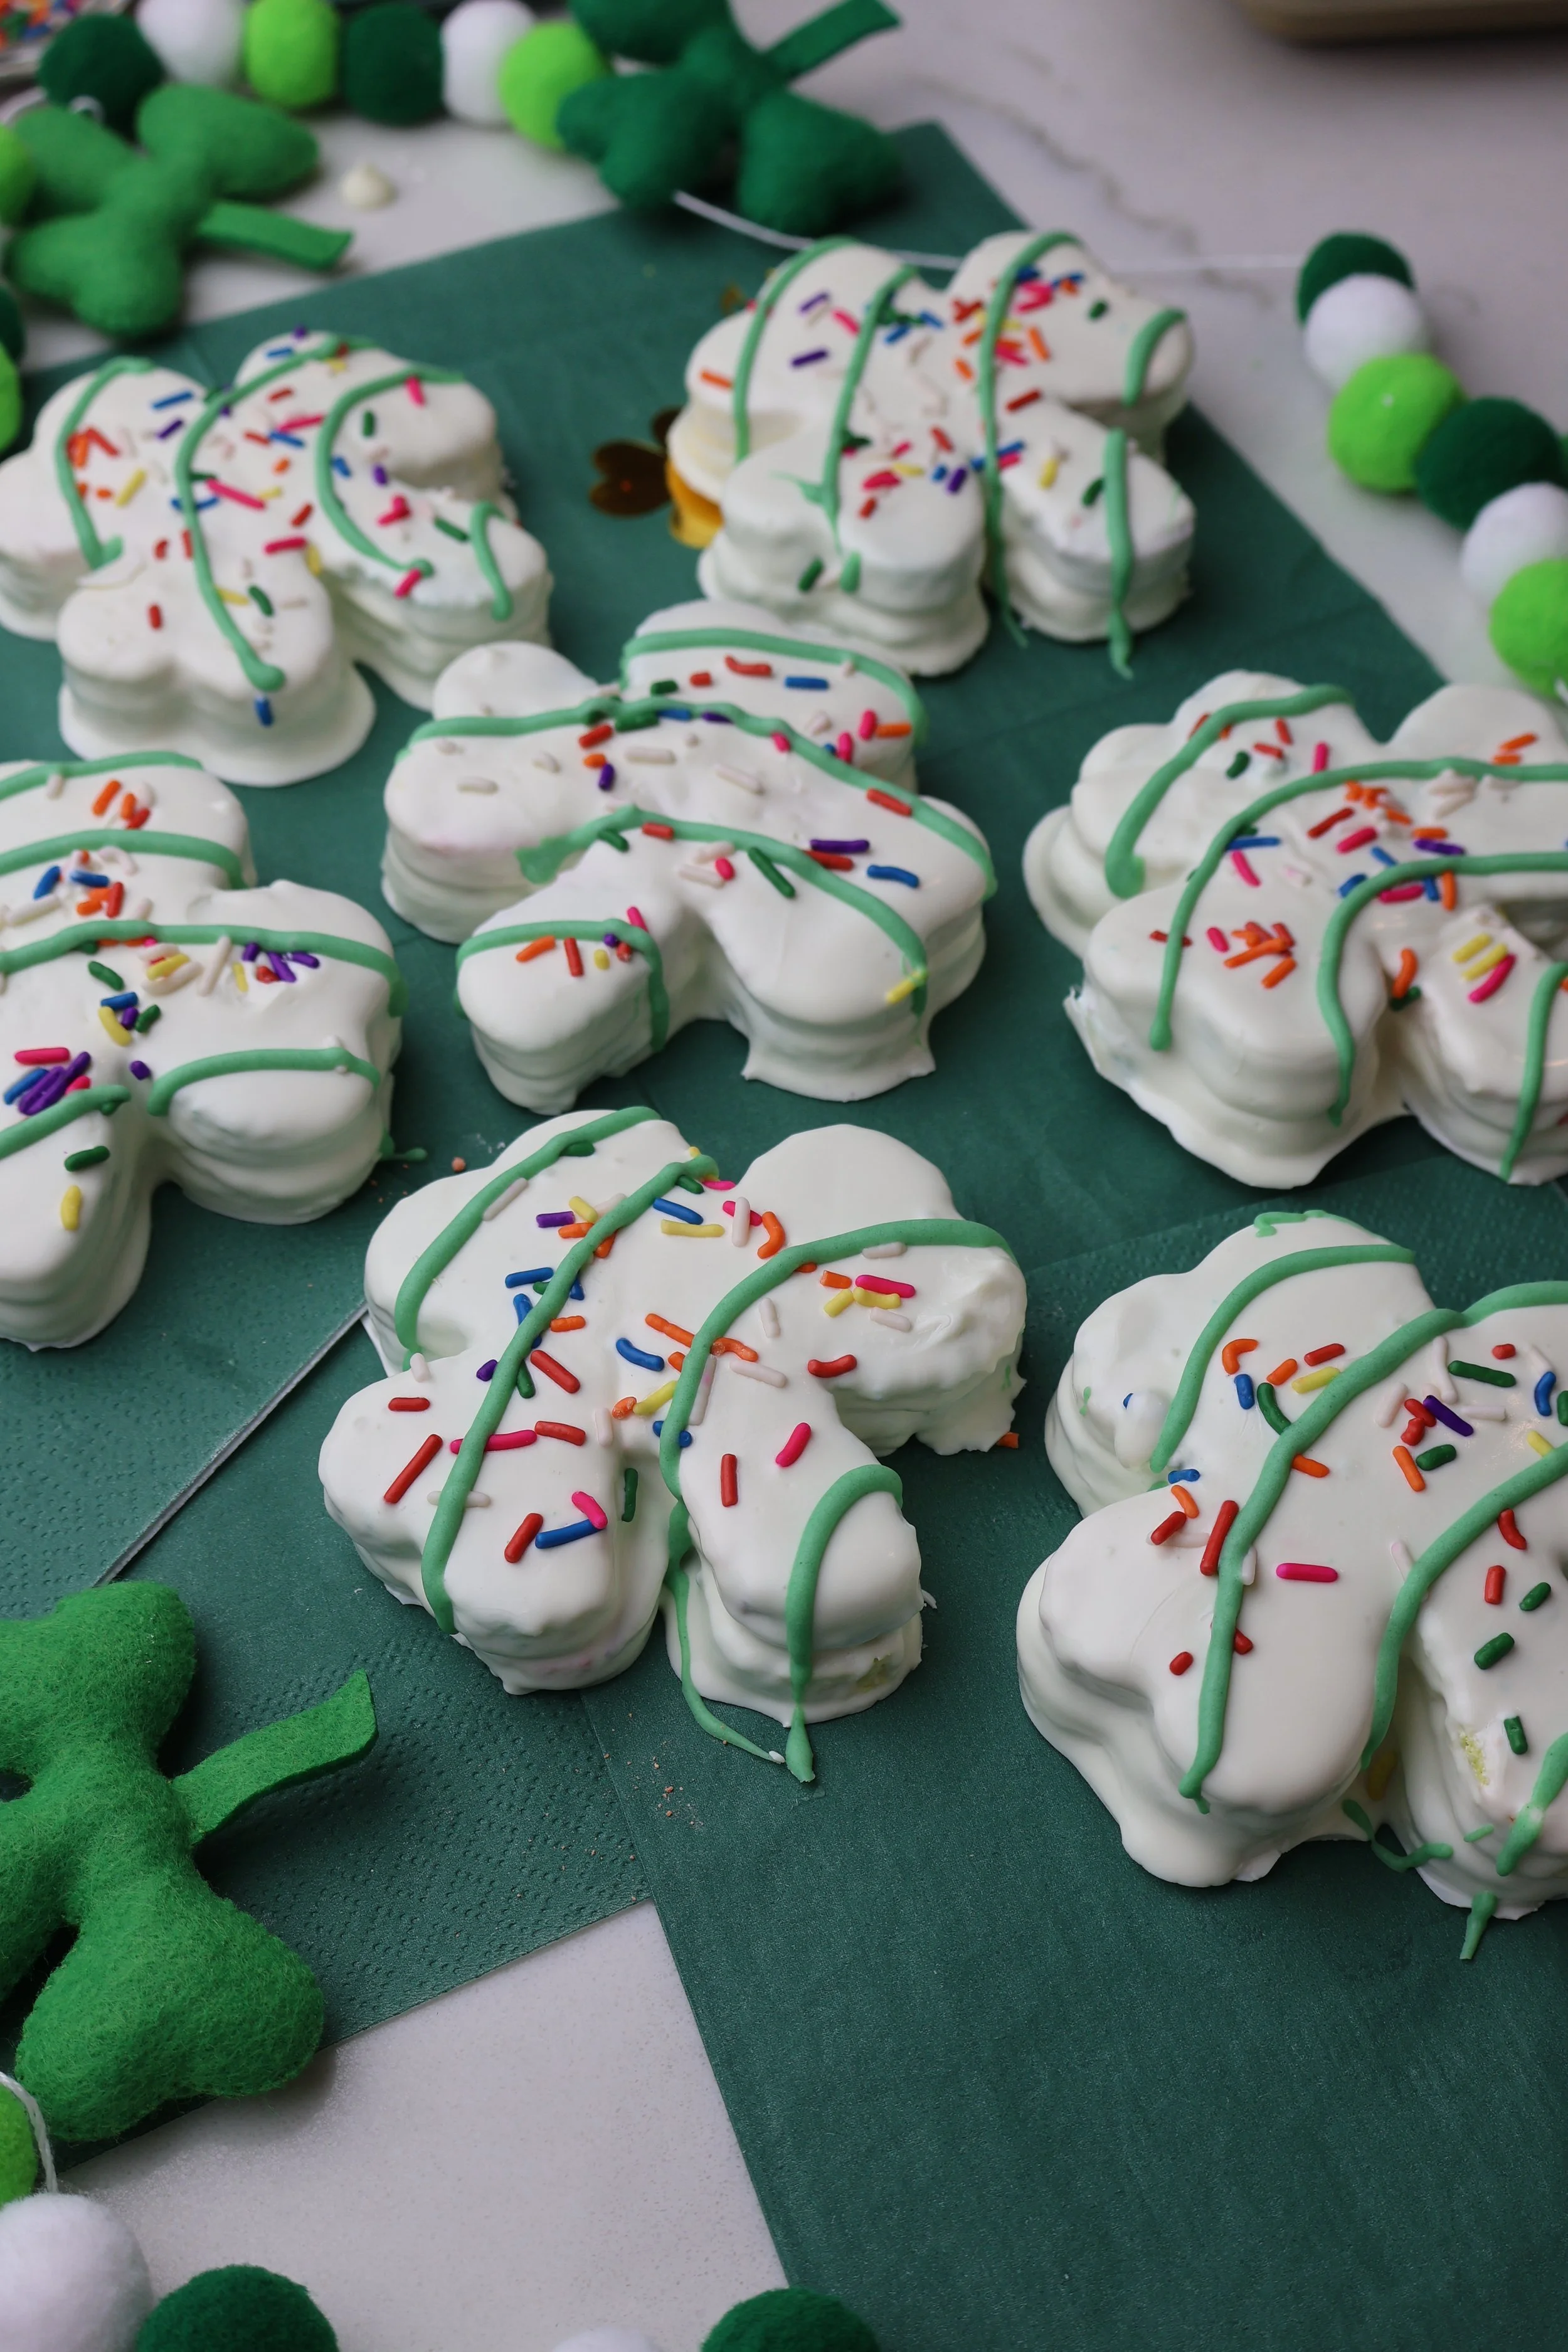
After each one is dipped, quickly add your sprinkles before it sets. The candy melts will set relatively quickly.
Add Finishing Touches
To finish off the decoration, you can add green stripes across each to give it the true “Little Debbie” style. I melted white chocolate chips and added some green coloring. You can also get some green gel writing tubes for the same effect! Lastly, if you’re like me, you always add some edible glitter. In this case, it’s gold for the full St. Patrick’s Day feel!
Tips for the Best DIY Little Debbie-Style Cakes
✅ Freeze Before Dipping – Freezing prevents crumbs in the candy melt coating.
✅ Use a Shamrock Cutter – If you don’t have one, cut out heart shapes and arrange them into shamrocks!
✅ Thin the Coating – If you don’t have access to a high-quality candy melt like Merckens, add vegetable oil or shortening to the candy melts for a smoother dip.
✅ Store Properly – Keep cakes in an airtight container at room temperature for up to 3 days or refrigerate for a week.
Erin go bragh! 🍀
Note: Links found in this blog post may contain commissionable affiliate links. This post was made in partnership with ShopRite stores.

