9 Easy Ways to Make Your Cakes Look More Professional
Elevating your homemade cakes to a professional standard involves a combination of technique, tools, and creativity. Here are nine detailed tips to help you achieve bakery-quality results in your own kitchen.
1. Use a Hybrid Cake Mix Recipe
Going with a boxed cake mix can save time, but if you use a boxed cake and follow the directions on the box, you end up with a cake that is way too fluffy and doesn’t have a strong structure. This doesn’t allow for stacking more than 2 layers.
I highly recommend opting for a hybrid cake mix recipe. You’re only using the dry ingredients from the box and using better wet ingredients that will give you a great structure and it also tastes bakery made.
It also helps to keep things stress-free! This recipe is no-fail and very consistent. If you’d like to use the one that I love, you can find it here.
2. Use 6-Inch Cake Pans
Smaller cakes can appear more professional and are easier to handle, allowing for taller, more impressive layer cakes. If you’re using a hybrid cake mix like me, you can make (3) 6-inch cake layers with the same amount of batter that you’d use for (2) 8" or 9” layers.
Making a taller cake immediately turns your homemade cake into a bakery-style custom cake!
Wilton 6” Cake Pans
I use these Wilton cake pans which I’ve had for years. They clean very easily and bake up amazing layers.
3. Cardboard Cake Rounds
Cardboard cake rounds provide stability, making it easier to transport and decorate your cake.
This seems insignificant but it’s not! It’s probably the easiest way to make your cakes look pro and it’s one you may not have even thought of. Personally, I would always use a plate or a flat platter to decorate my cakes. Once I switched to the cardboard cake rounds, it made a huge difference not only in presentation but in the decorating process.
They’re very affordable and can be easily found in any cake supply store or on Amazon.
The rule of thumb for sizing is to choose a cake board that is 2 inches larger than your layers. So, I use 8” cake boards for my 6” cake.
That being said, many people like to also use 6” boards as well. Using 2 boards allows for:
Easily handling in and out of the fridge. Using a board that is larger than your cake makes this very manageable
Having a 6” board as a base, allows you to remove the larger board when presenting the cake on a stand. This way, there is no board visible while it’s displayed but you still have the support of a board.
4. Homemade Buttercream
I’m not opposed to store-bought frosting. In fact, I love the way it tastes and could eat it by the spoonful. It just doesn’t have enough stability to create a pro-style cake. Making your frosting from home is the way to go for this.
I recommend American Buttercream because it’s extremely beginner friendly and easy to make. It also is a crusting buttercream which means it hardens when it’s chilled. This allows you to chill your cake throughout the decorating process which helps keeps your frosting in place.
American Buttercream creates a beautiful finish on cakes and helps make them look bakery made.
5. Use Gel Food Coloring
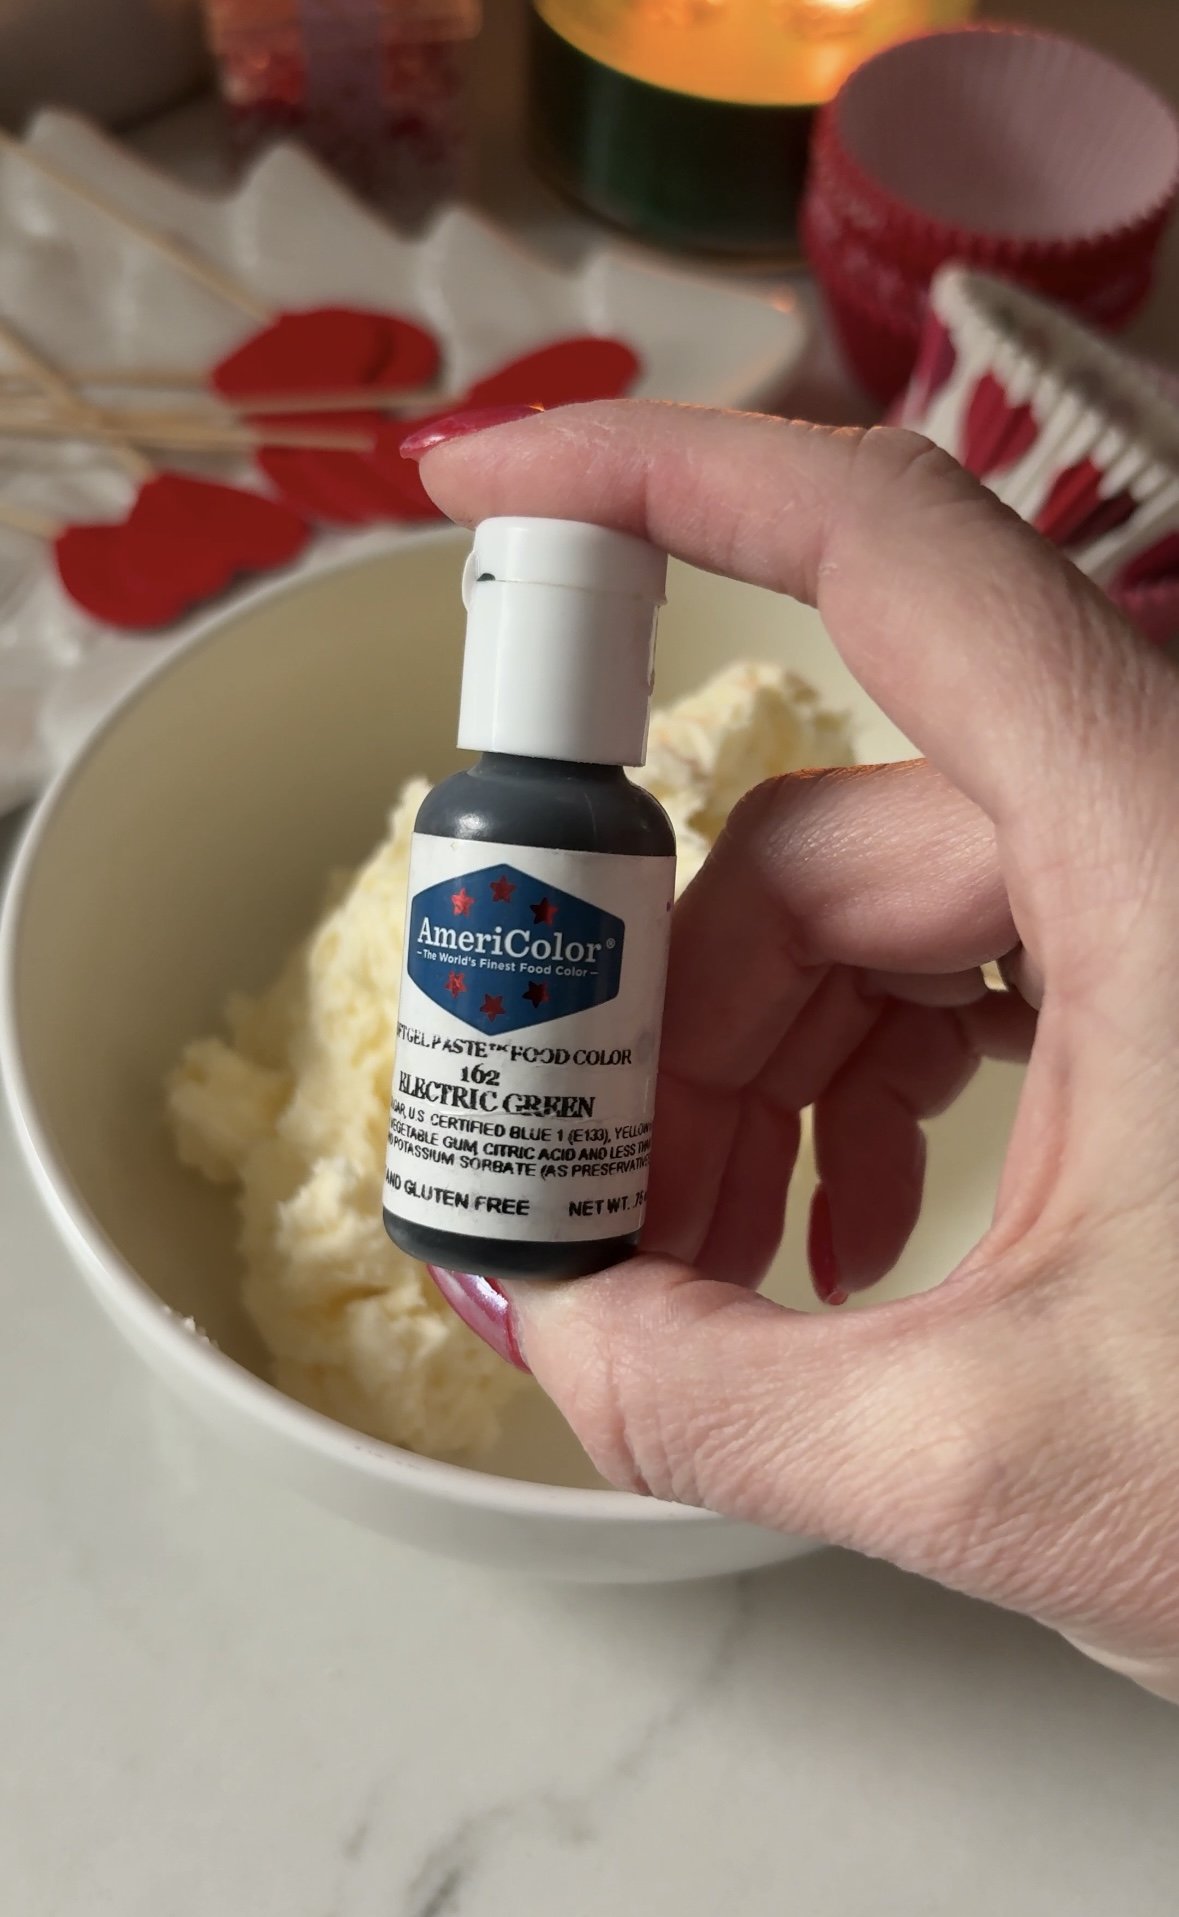
Gel colorings are concentrated, and will add beautiful color without thinning your mixtures. With gel, you’ll only need a few drops.
When using a water-based coloring, you’ll find that your frosting will start to thin out and you’ll need to use a lot more coloring to get your desired shade.
I love using Wilton Gel Coloring and AmeriColor gel food colorings.
6. Chill Cake Layers Before Decorating
Chilled layers are sturdier, allowing for cleaner cuts and smoother frosting application. You won’t run into your cake breaking part while you add your frosting.
When cake layers are chilled, they’re much sturdier. This is especially helpful when you’re stacking 3 or more layers. Your layers will stay nice and sturdy and won’t wobble around during the decorating process.
I like to bake my layers ahead of time which breaks up the overall process of making the cake.
So once I’ve baked the layers and they’ve cooled a bit, I’ll wrap them very securely in plastic wrap and store them in the freezer.
On the day I need them, I’ll take them out about 30 minutes beforehand so that they’re chilled but not all the way frozen. If your layers are too frozen, your buttercream will harden.
The sweet spot is chilled, not frozen.
7. Create Cake Top Swirls
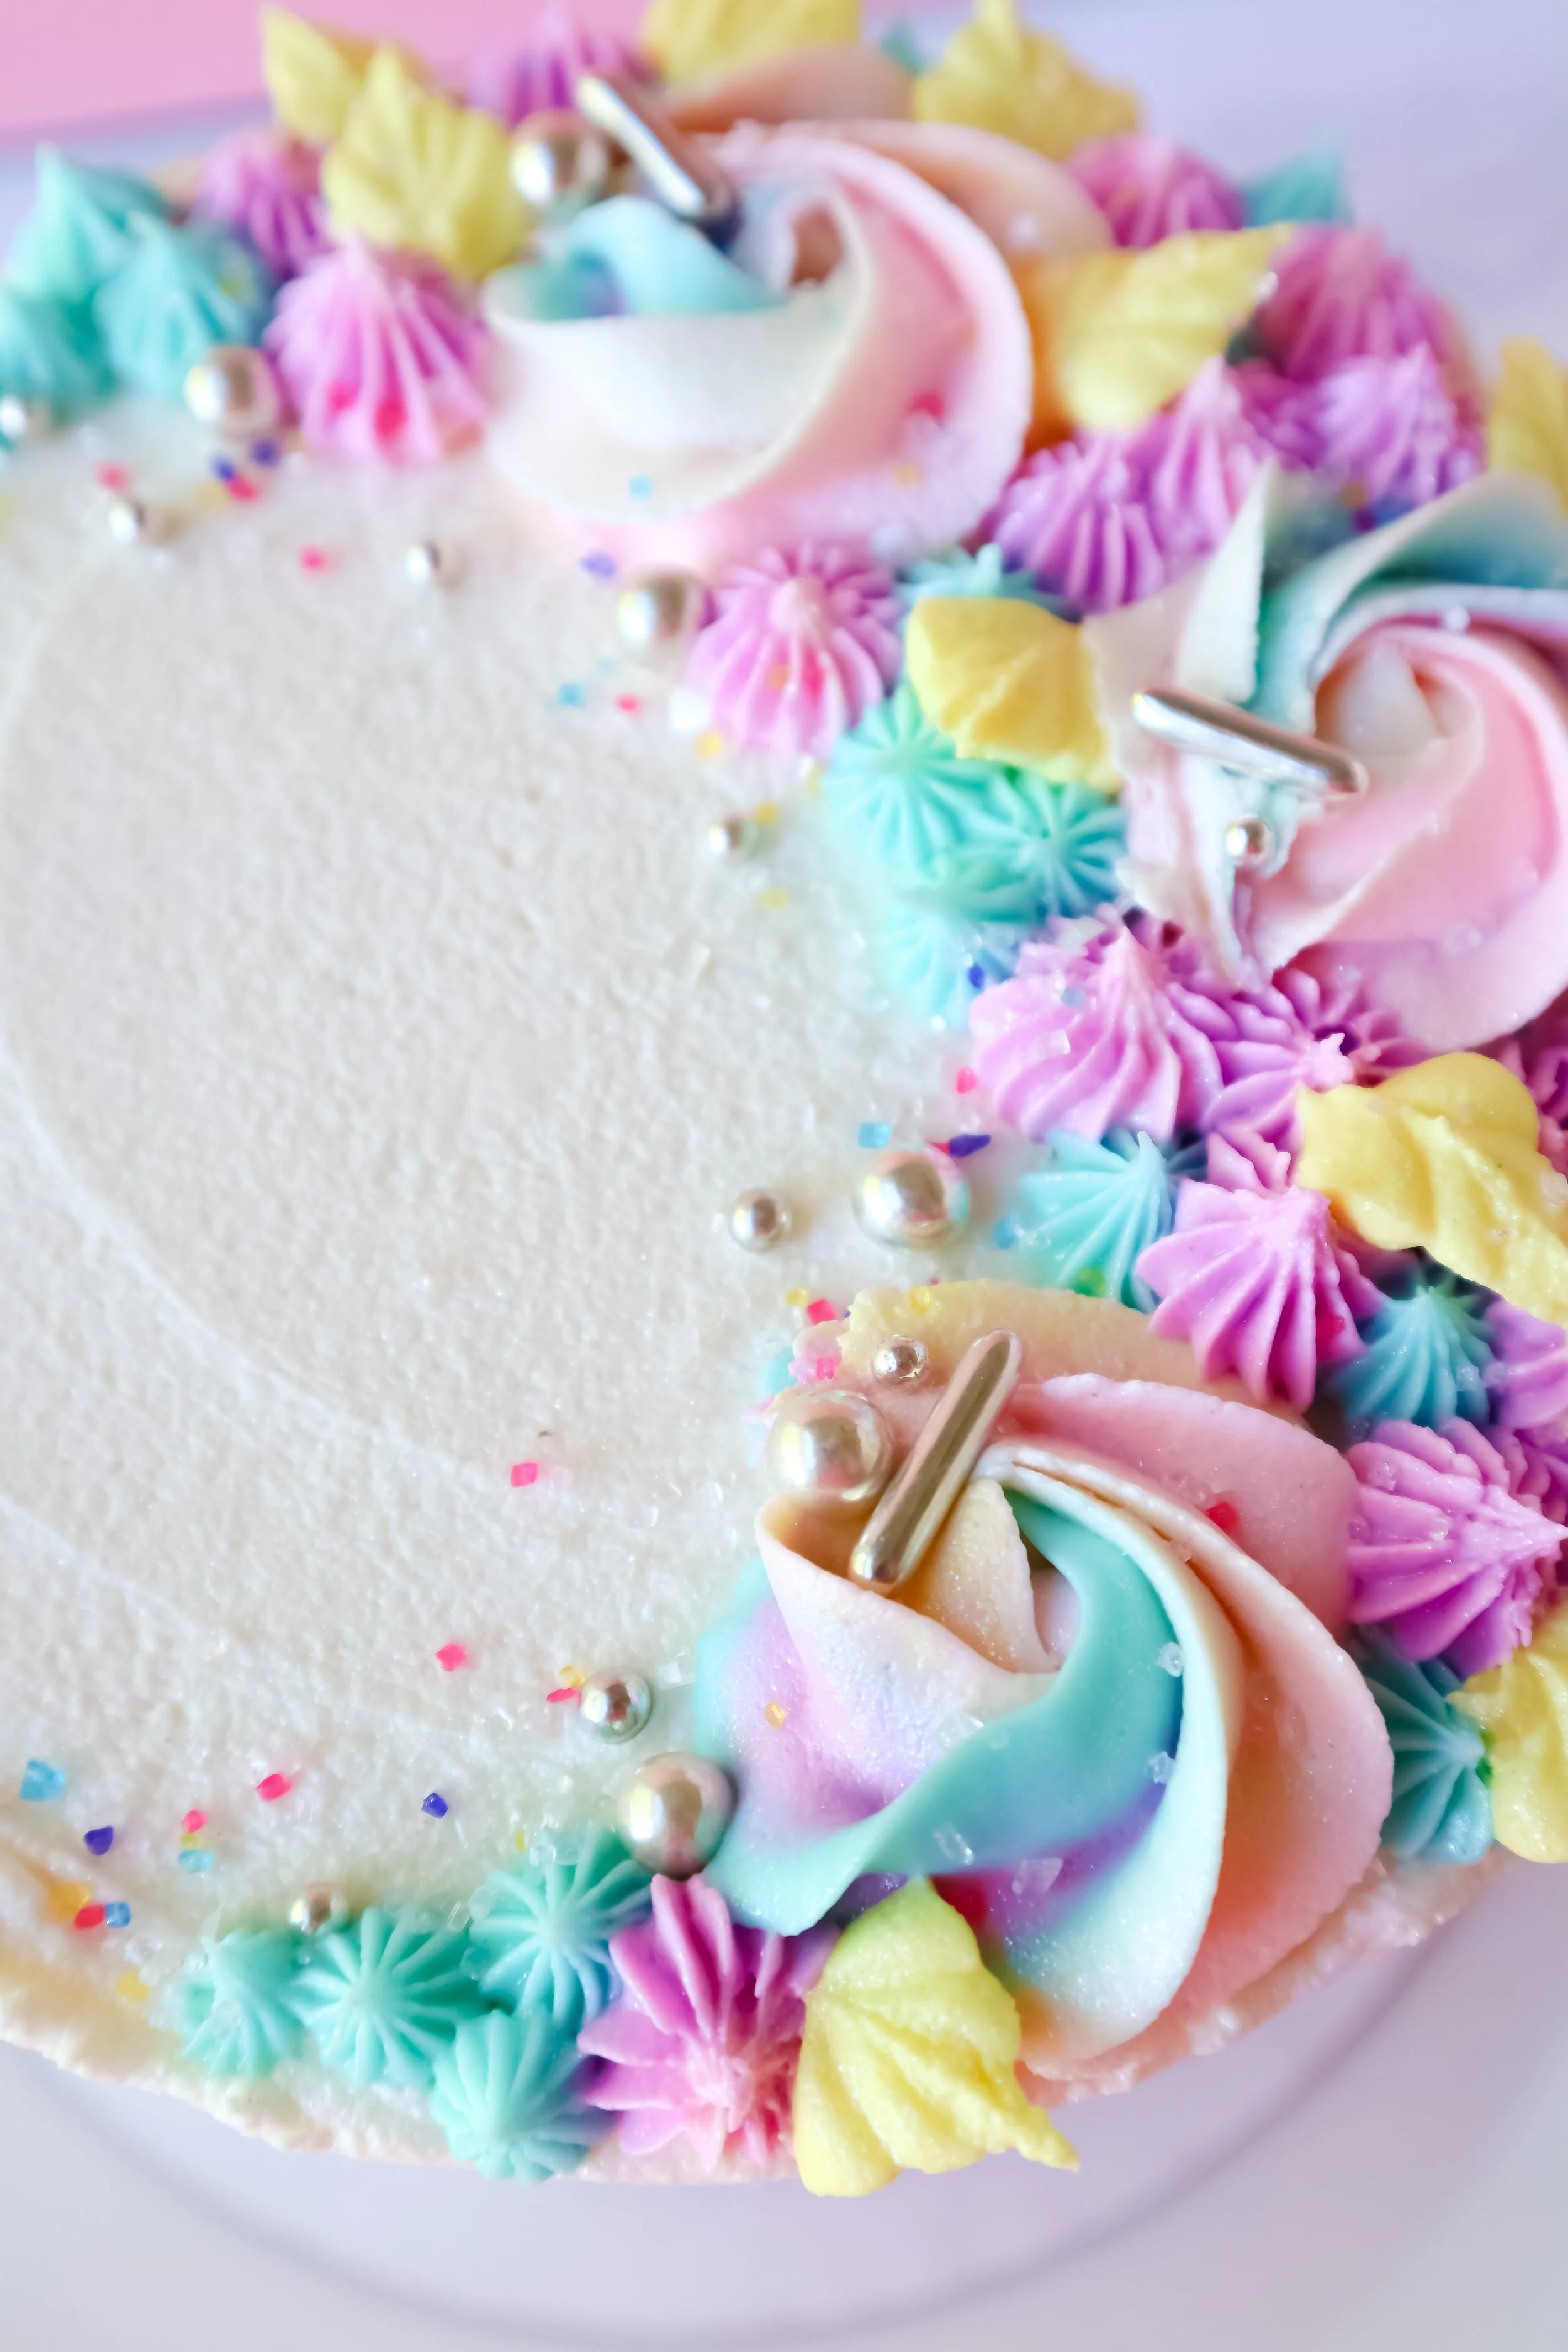
One of my favorite cake top decorations are swirls using a 1M piping tip. This is a classic decoration style and relatively easy to create. I also love to add cookies between each swirls to enhance the look even more.
A few tips to keep in mind when creating your swirls:
Be sure to start your swirl about an inch in from the edge. This way, your swirl won’t fall off the side.
Practice swirls on a sheet of parchment paper to get the hang of it. You can easily re-use the frosting and put it back in to your bowl, too.
When adding the swirls to the top of the cake, I like to add them in a pattern using a standard clock as a guide. This helps me keep the swirls relatively uniform and placed properly.
Add them at 12:00, 3:00, 6:00 & 9:00. Fill in the space between each with 1-2 more swirls (depending on the size you’re creating).
8. Deluxe Sprinkle Blend
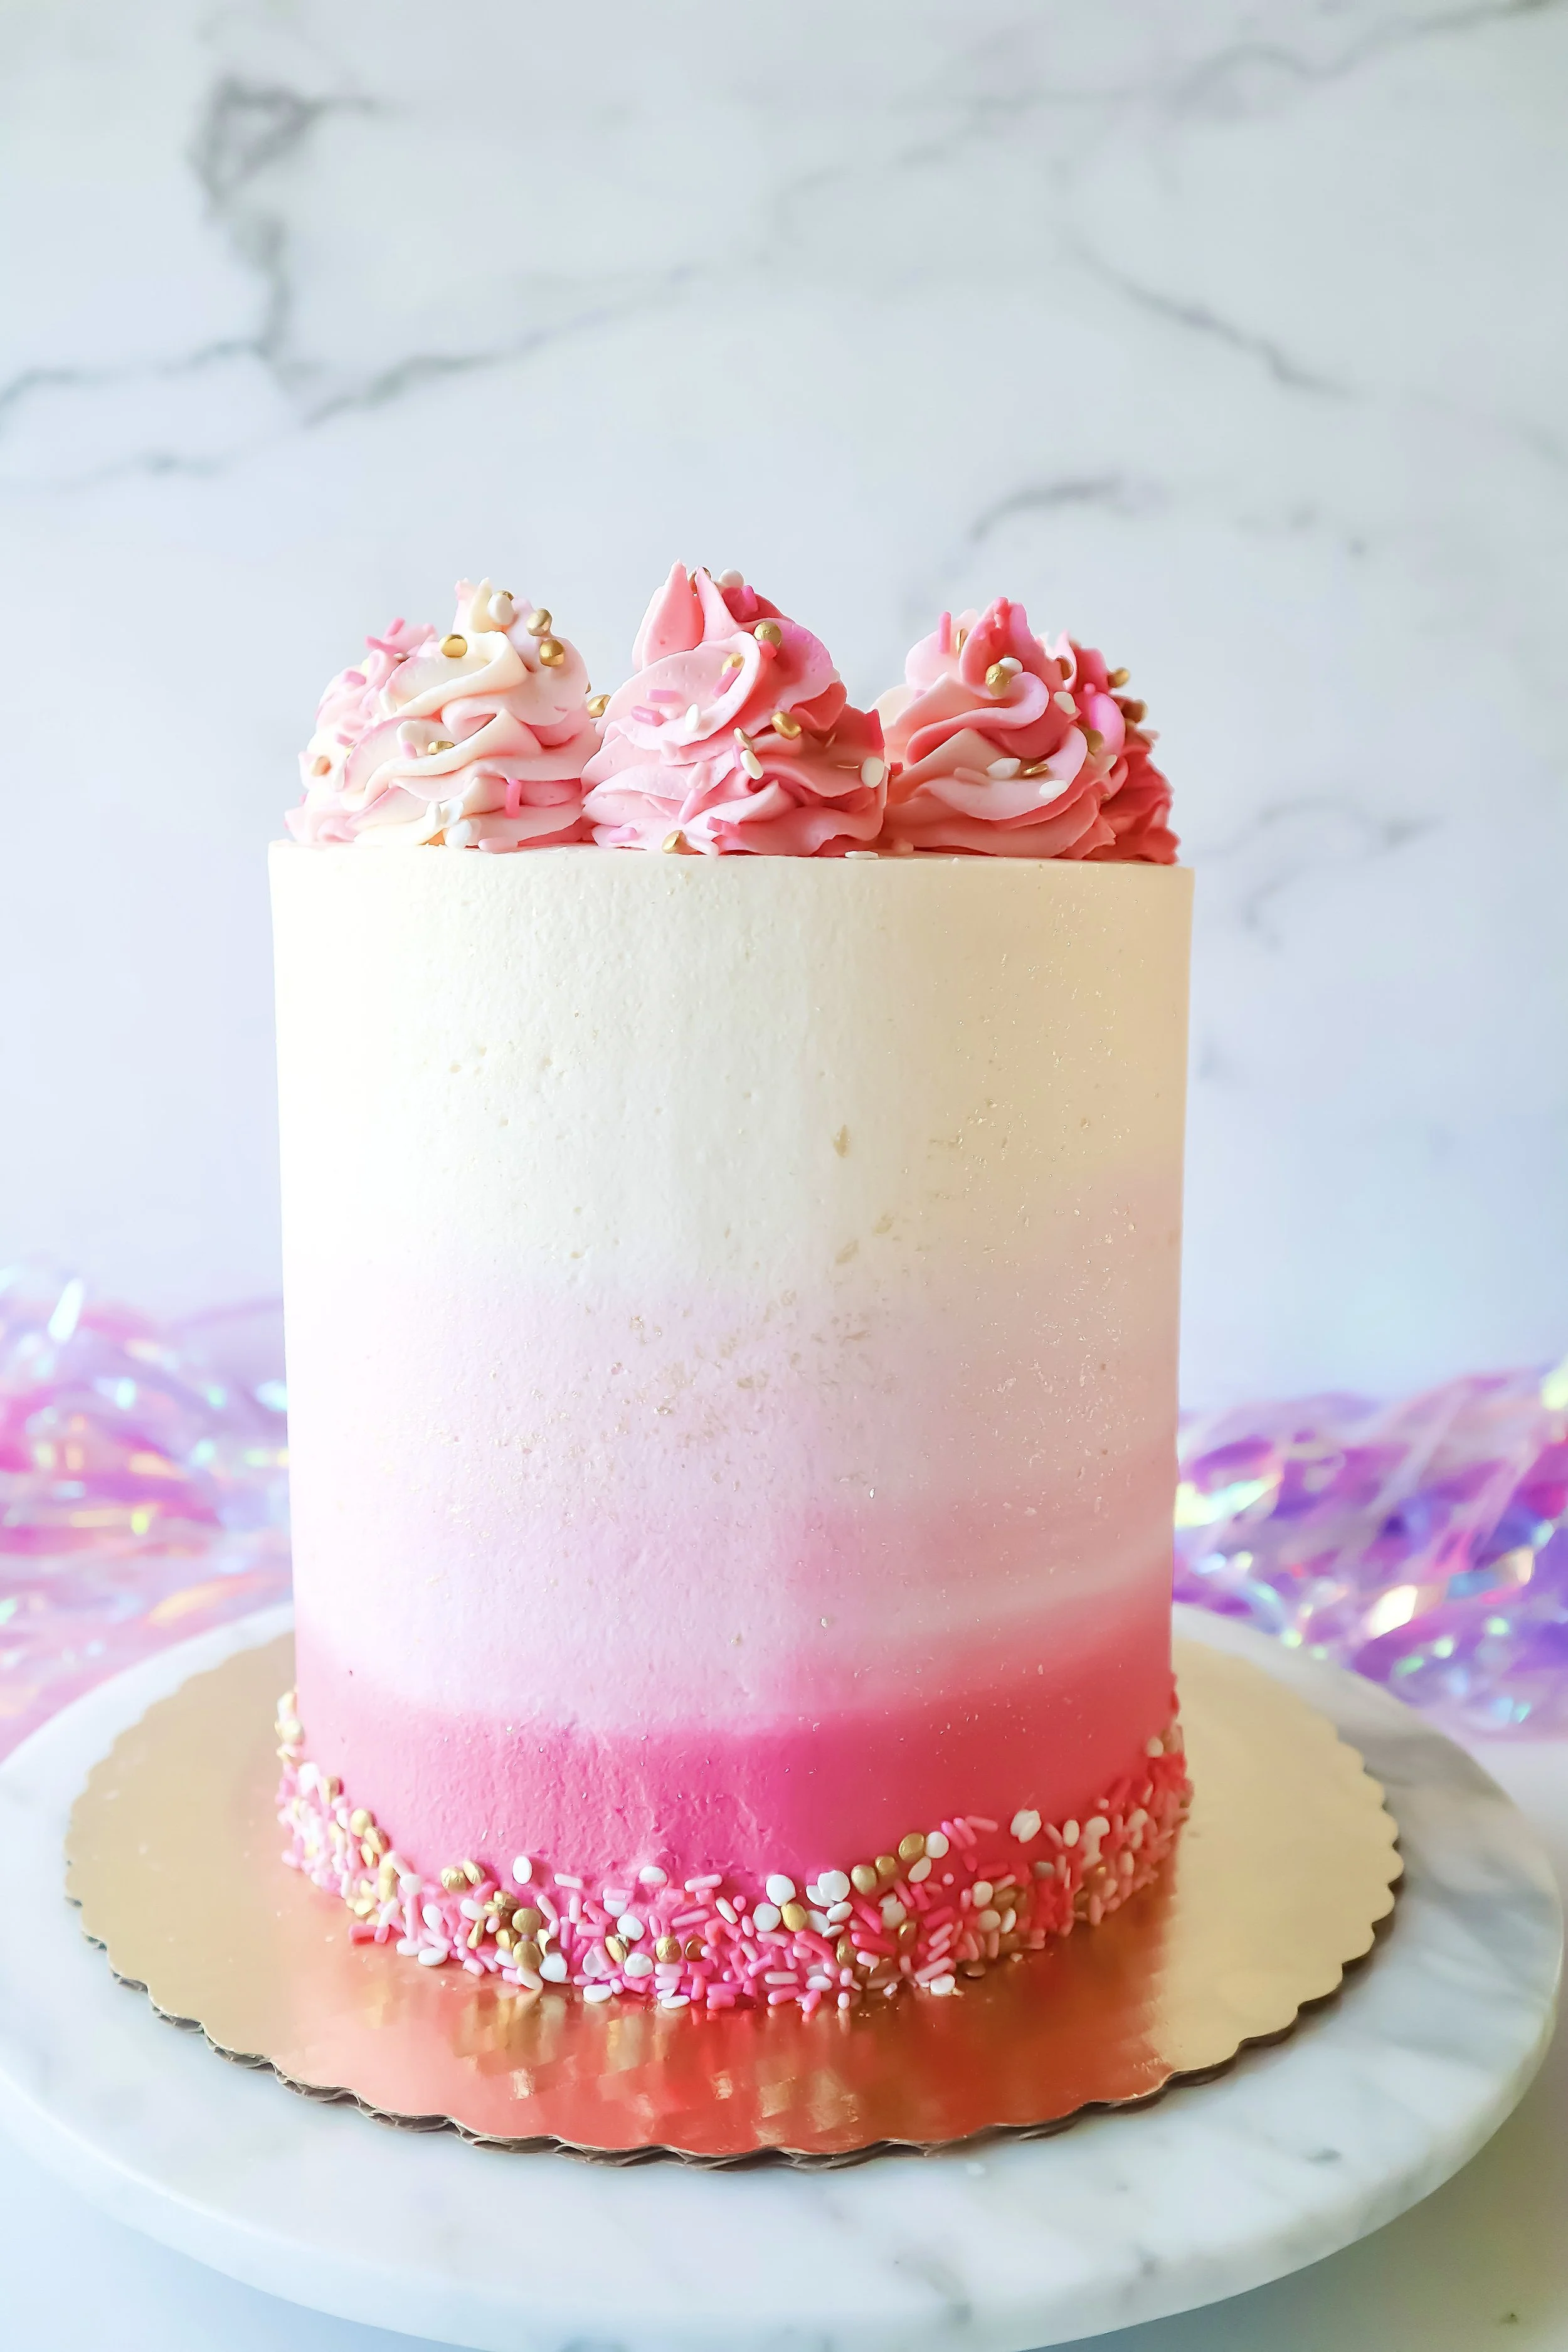
Using a deluxe sprinkle blend can elevate a simple cake into a pro-style cake instantaneously. There’s really not more else to say about it. Here are some cakes that I used deluxe sprinkle blends to help them look more professional.
9. Use Toppers for a Finishing Touch
Thoughtfully chosen toppers can completely transform your cake into a perfectly themed dessert.
I have made several cakes where I simply designed the cake with the colors of the theme and used a topper to tie the whole theme together! Very easy and stress free.
For a visual guide on cake decorating techniques, you might find this video helpful:


