Unicorn Glittery Sugar Cake
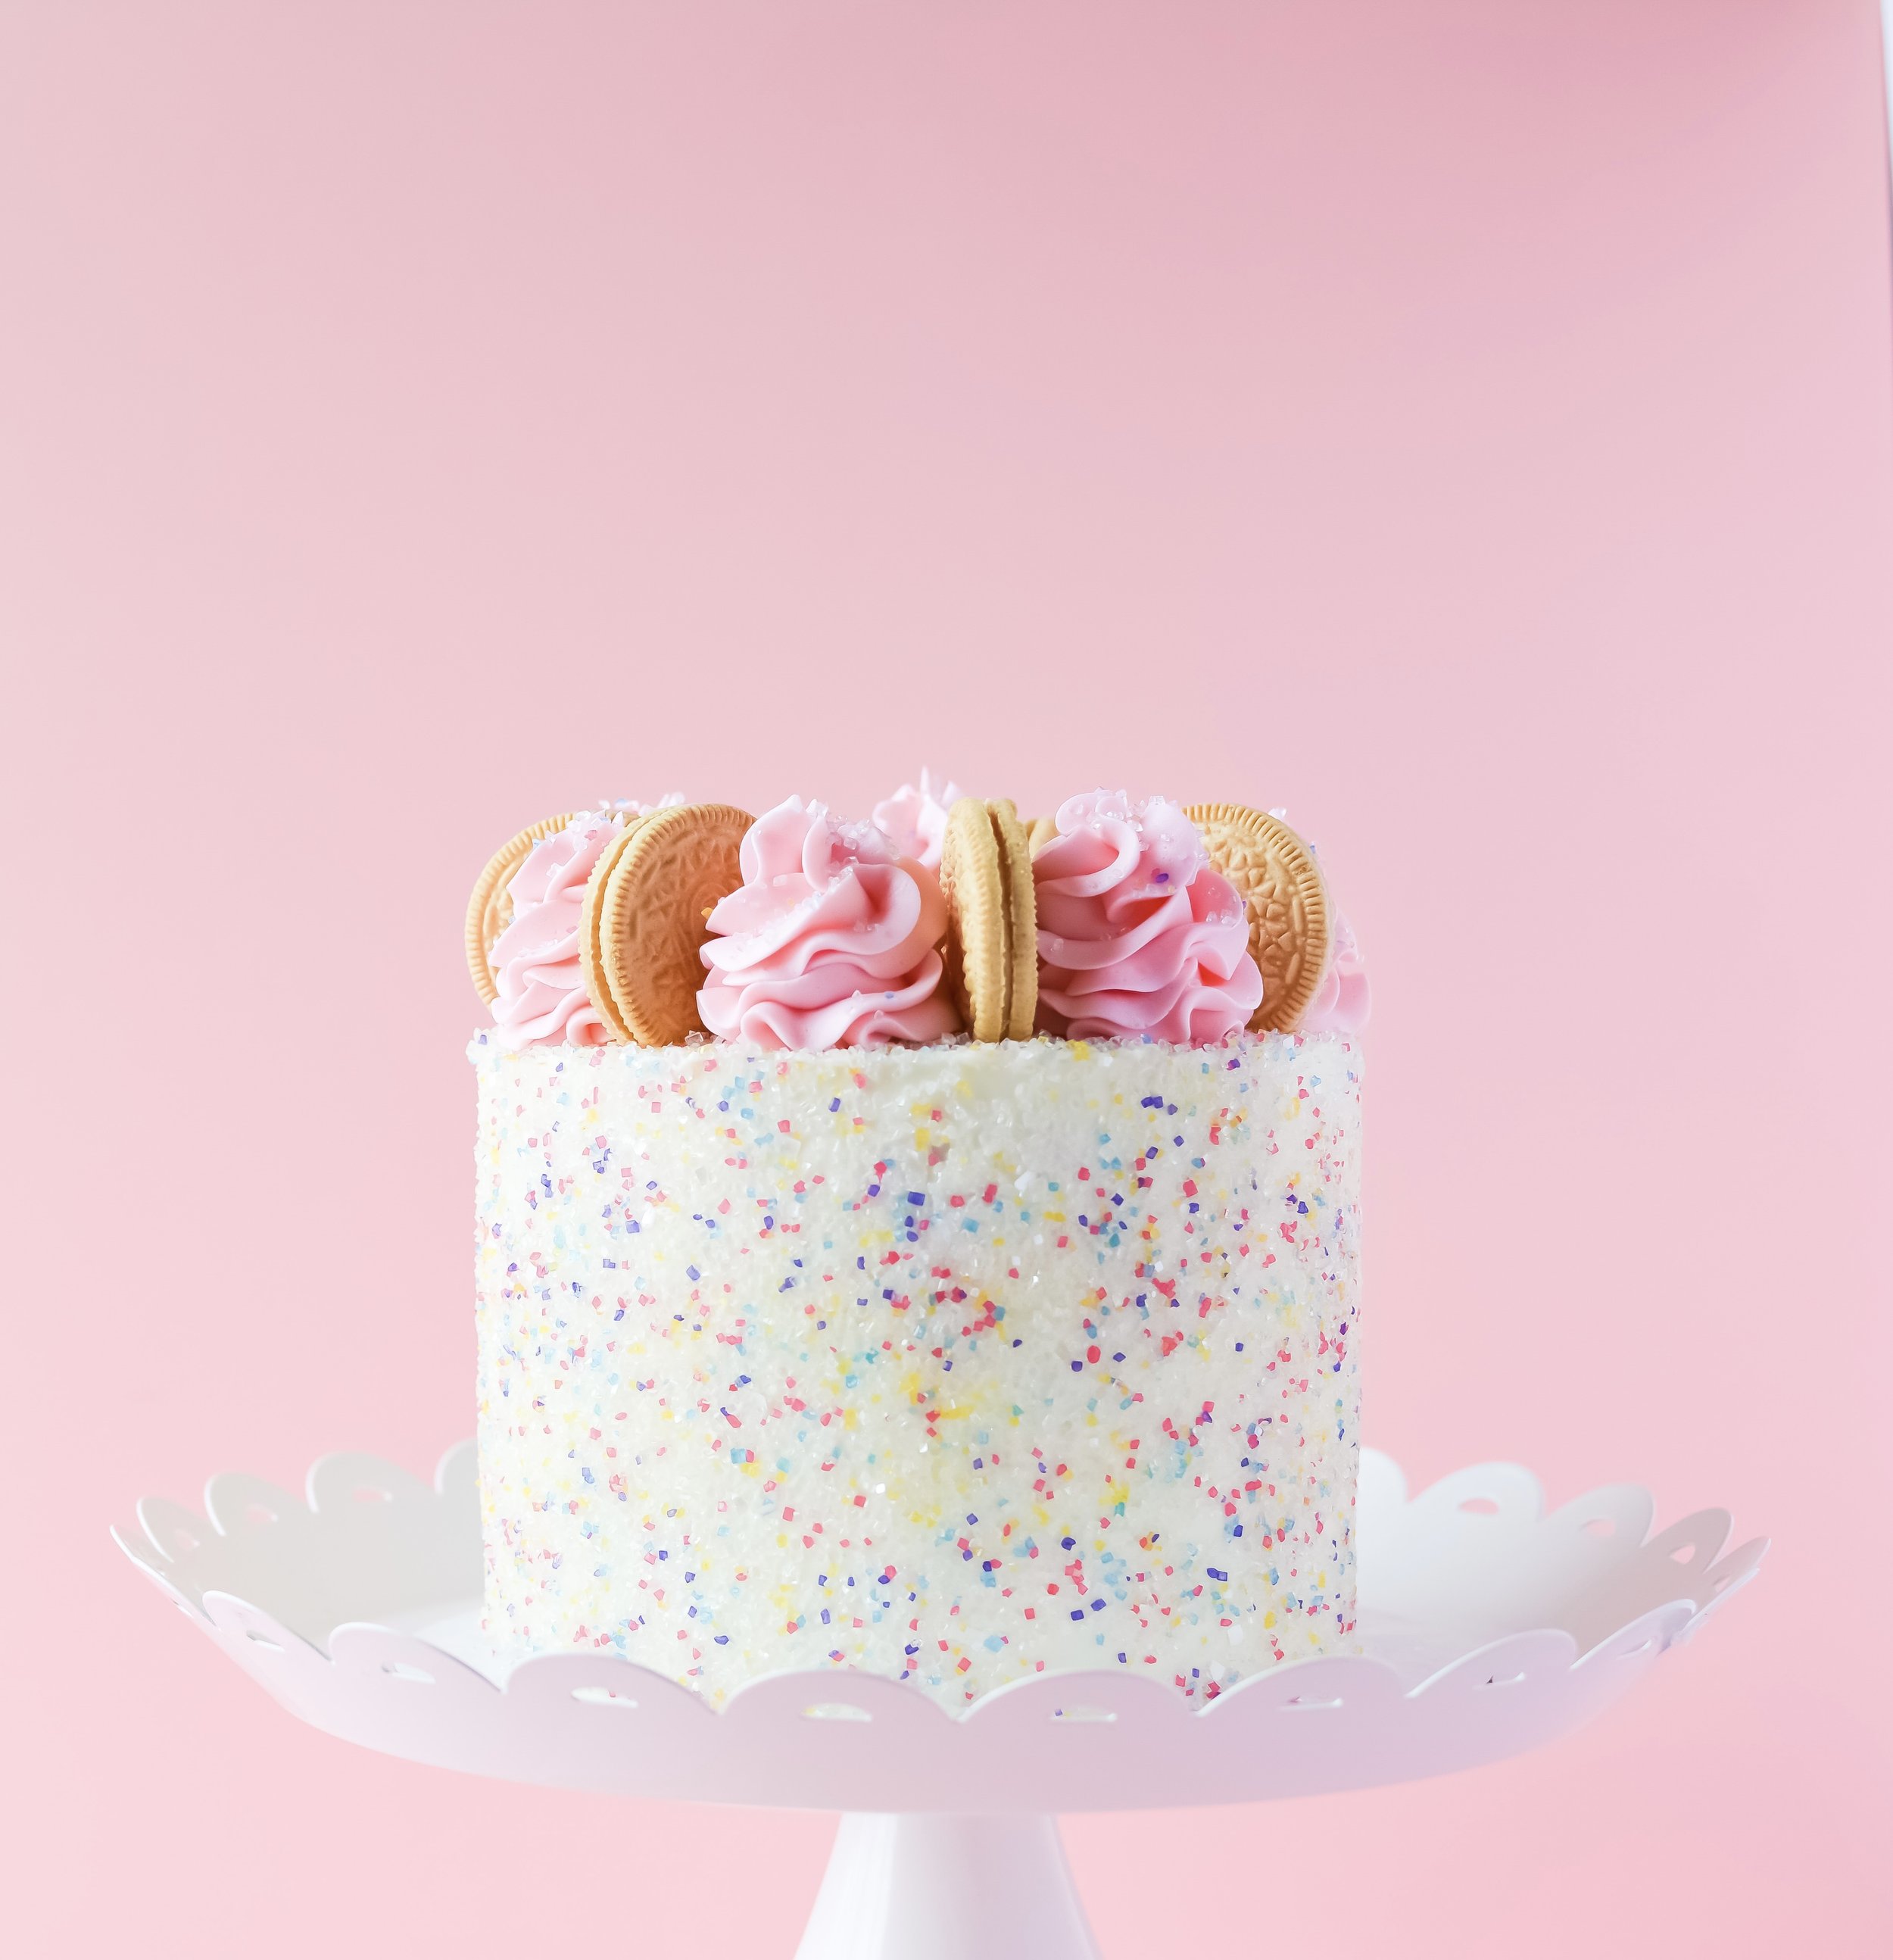
Photo by Kris Marie Bakes
How to Make a Glittery Unicorn Sugar Cake at Home
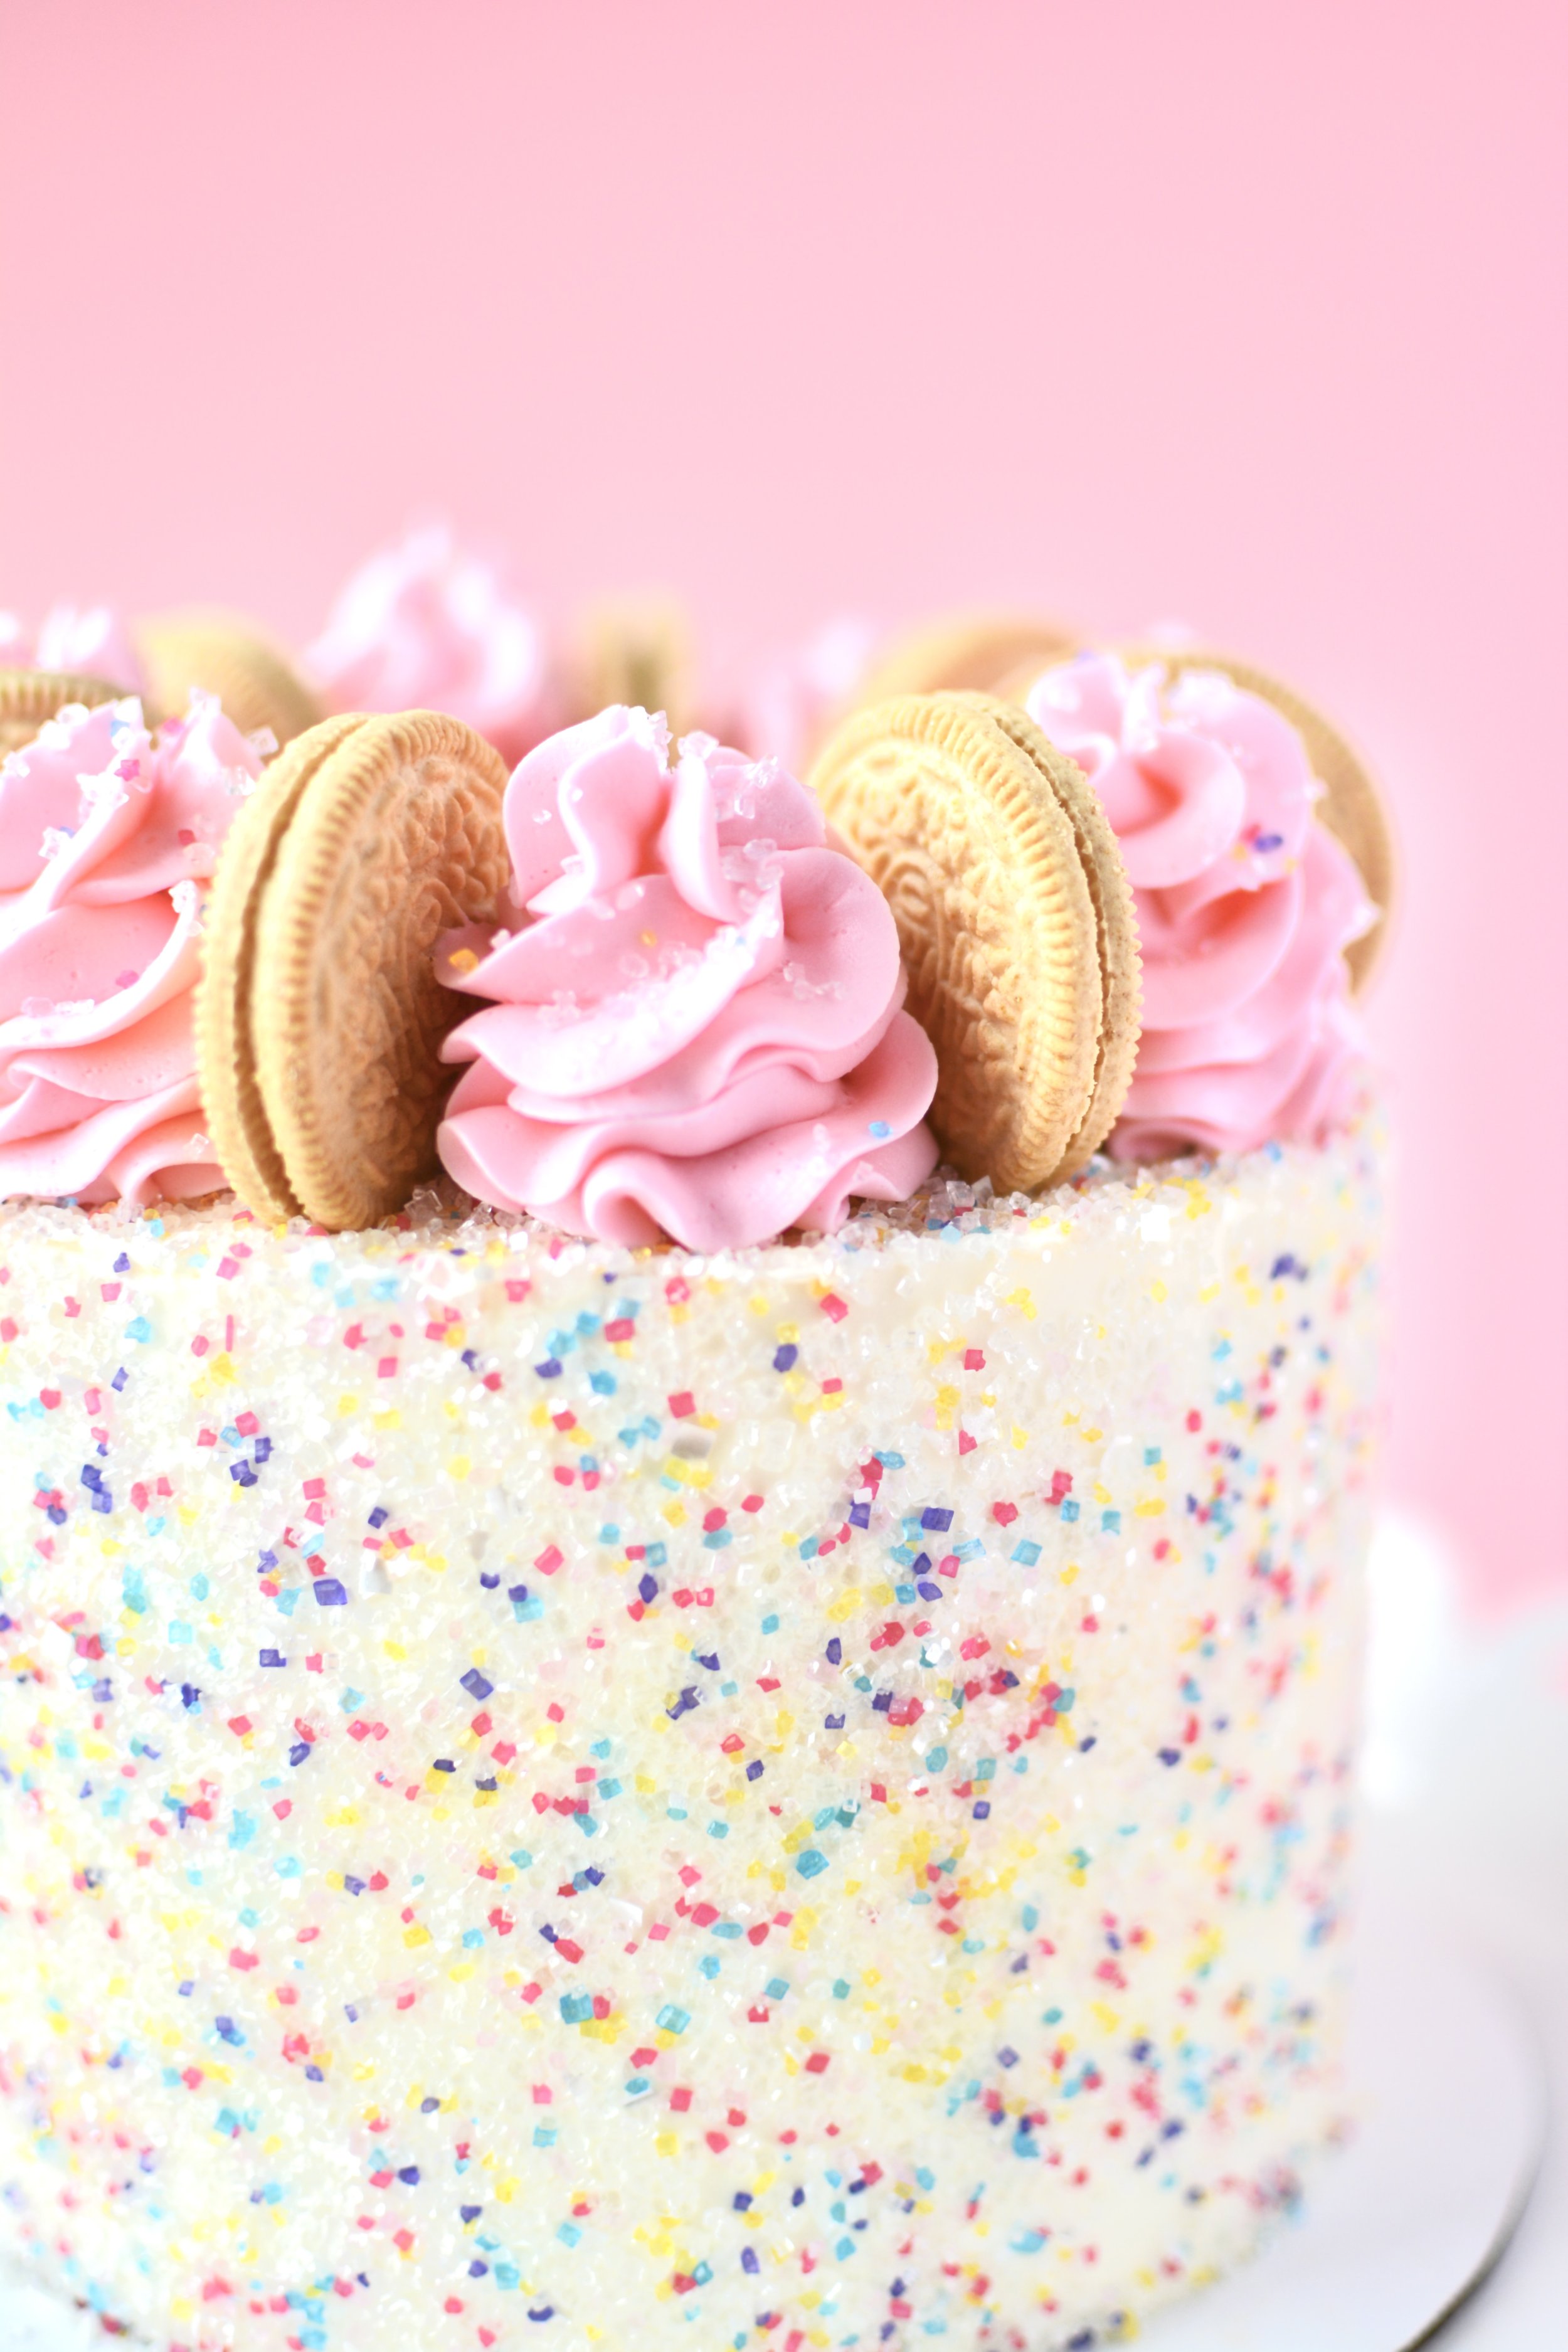
If you're looking for a fun and whimsical cake idea that will wow your guests, a glittery unicorn sugar cake is the perfect choice! This dessert is not only visually stunning but also irresistibly sweet. With shimmering glittery sugar from Bakery Bling, and a whimsical topping of vanilla Oreos and frosting swirls, your cake is sure to be a showstopper. Read on for all the steps and tips you’ll need to create your own dazzling unicorn glittery sugar cake from your own kitchen.
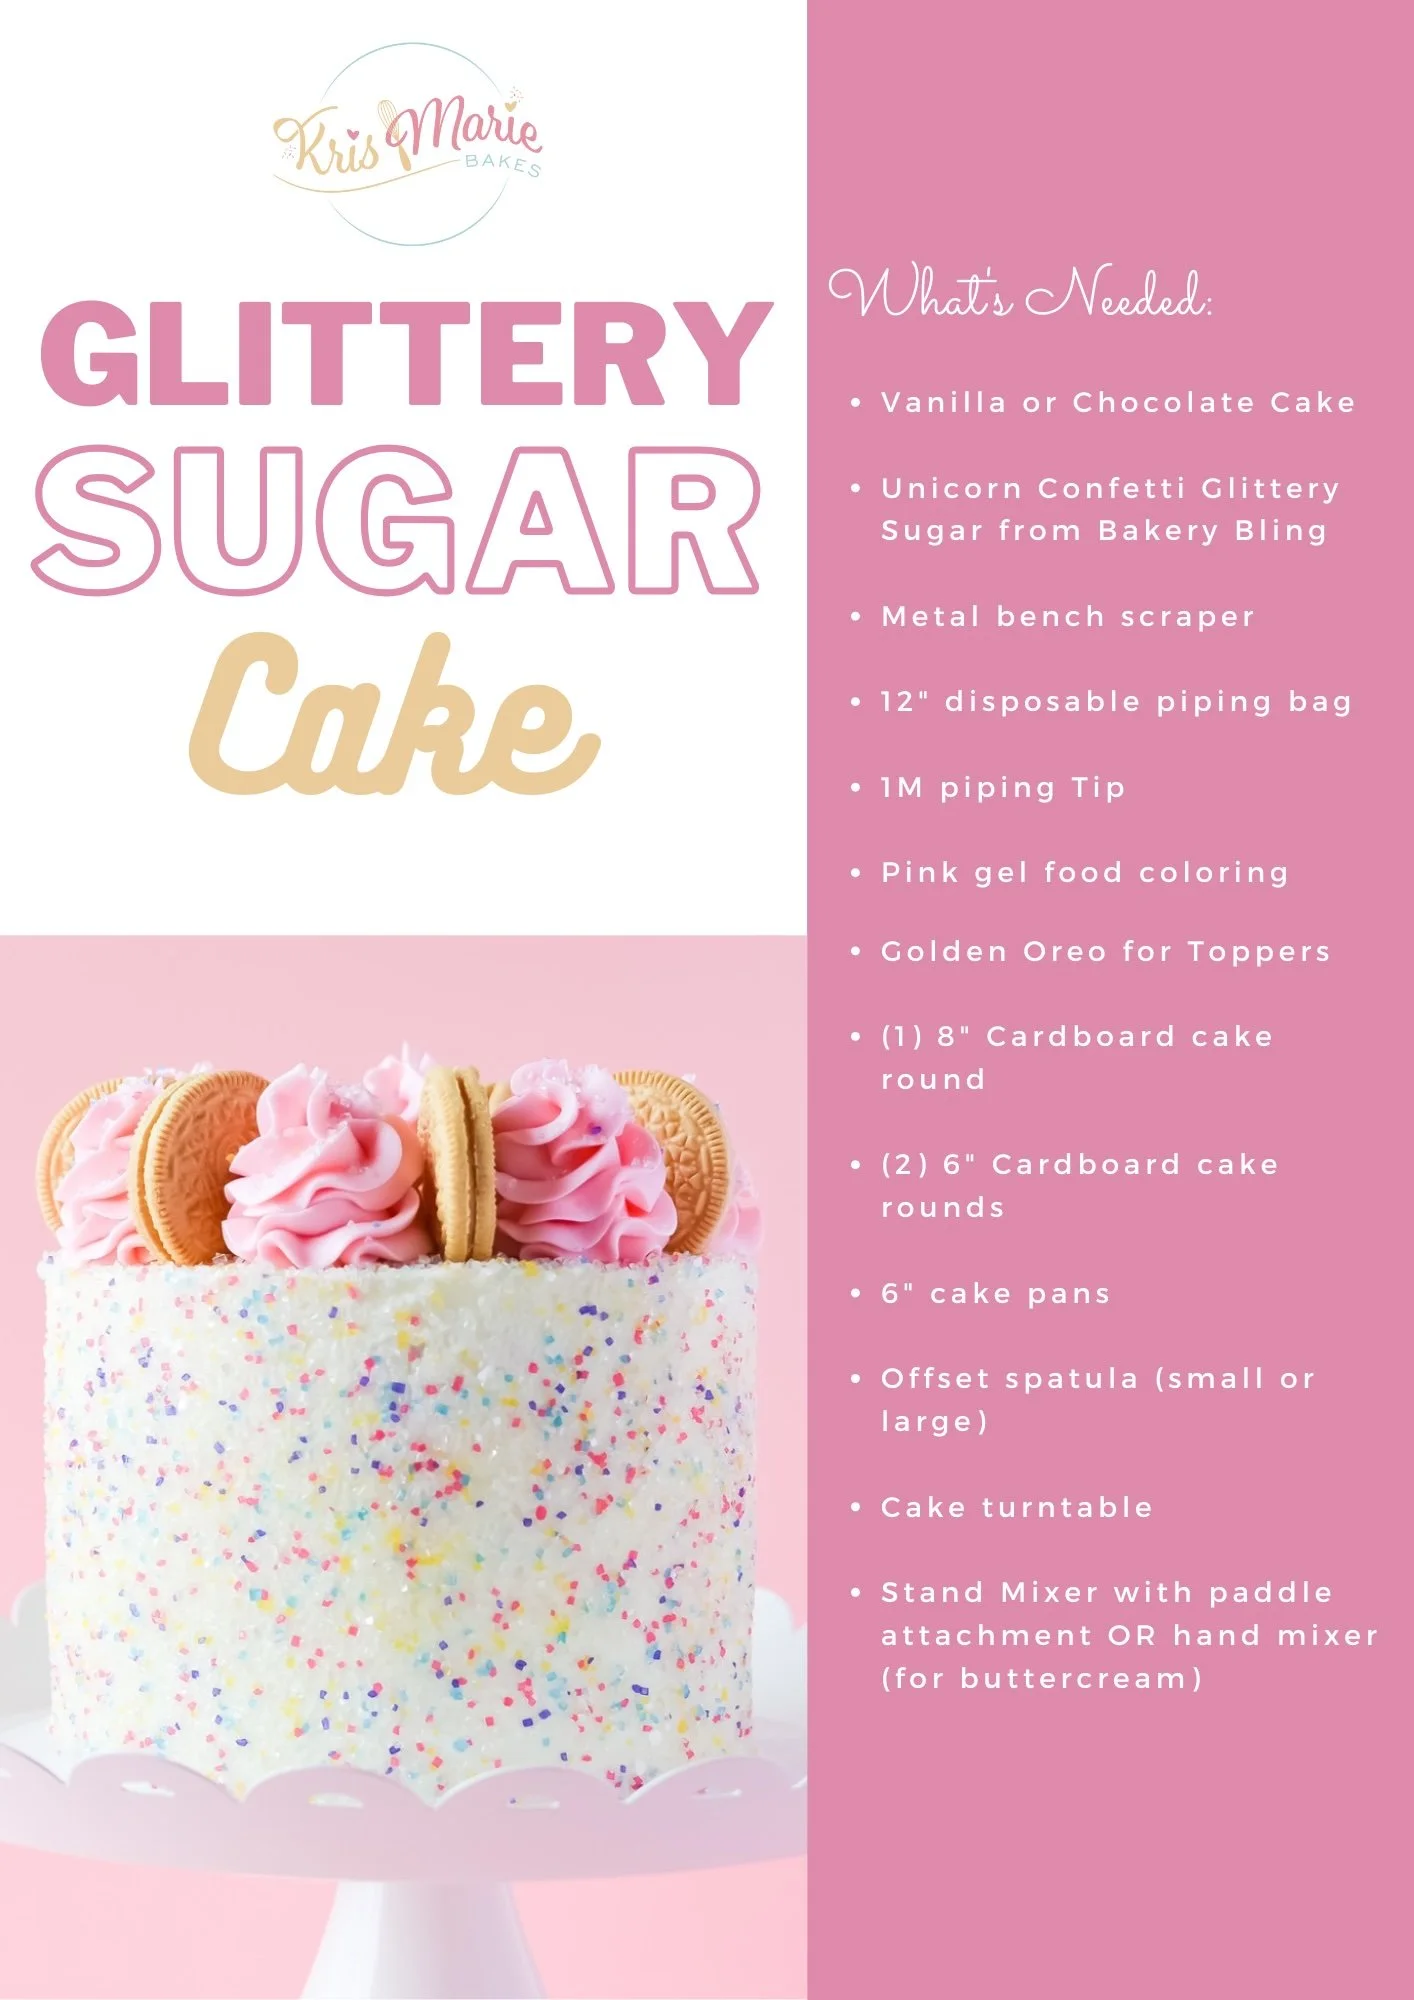
Here’s what you’ll need to get started:
Step-by-Step Guide to Make Your Glittery Unicorn Sugar Cake
Step 1: Bake the Cake Layers
Start by baking your three 6-inch cake layers. You can make them from scratch or use a boxed cake mix. If you want to create colorful unicorn layers, divide your cake batter into three bowls and add different colors of food coloring to each bowl. This will give your cake a vibrant rainbow effect. Pour the batter into your cake pans and bake according to the instructions.
Once the cake layers have baked, let them cool completely before frosting.
BAKE AHEAD OPTION
To make the process easier, you can spread it over the course of a few days or weeks. You can bake cake layers in advance and wrap them securely in plastic wrap. Freeze them until the day you need to decorate the cake. Just be sure to pull them out and unwrap about 30 minutes prior.
Tips for best cake layers:
Use room temperature ingredients
This helps the ingredients to incorporate together and will result in an optimal cake texture.
Prep your cake pans
Line your pans with parchment paper that is cut to size
Use baking spray OR wipe with vegetable shortening and sprinkle flour around the pan
Step 2: Prepare the Buttercream Frosting
While your cakes are cooling, make the buttercream frosting. Check out my tutorial on how to make American Buttercream. Divide the frosting into three portions if you want to match the colors of your cake layers. Add a drop or two of food coloring to each portion to create a rainbow of frosting.
For the outer layer of frosting, I recommend keeping it white. Since you’ll be rolling the cake in glittery sugar, the white will help the colors of the sugar pop.
Make Ahead of Time
American Buttercream (ABC) can be made ahead of time. If made the day before you decorate, it can be left at room temp overnight. Otherwise, add it to an air tight container and place in the fridge*.
*Note: you’ll need to bring the frosting back to room temp and re-whip
Step 3: Stacking the Cake Layers & Adding Frosting
Once the cake layers are cool, it’s time to assemble your glittery unicorn sugar cake! Start by placing your cardboard cake round on the turn table. I like to use cake rounds that are 2” bigger than my cake to make it easier to handle. HOWEVER, since we are rolling our cake in sprinkles, we’ll need to also use a 6” cake board (the same size as the cake layers). You can tape the smaller cake board to the larger one since we’ll still need to be able to handle the cake in and out of the fridge.
Add a small amount of frosting to your cake board so your cake layer will stick. Then begin spreading a layer of buttercream frosting on the first cake layer. Place the second layer on top and repeat the process.
TIP: When you get to the final layer, flip the cake layer upside down so that the flat side is on top. This will help get you a flat cake top which makes it look more pro!
Before you add the frosting to the outer layer, be sure your cake it stacked straight. You can get eye level to check this. Adjust as needed.
Once you’re satisfied, you can begin to cover the entire cake with a thing coat of frosting (crumb coat). You can use your bench scraper to even the coat then pop in the fridge to set the frosting for about 15 minutes.
After the frosting has set, you can then add the final, thicker layer of frosting. Start by placing another 6” cake board on top. Be sure to hold the top board in place as you frost around.
Step 4: Coat the Cake with Glittery Sugar
At this point, while the frosting is still wet, we can roll it in the glittery sugar. Using a cookie sheet, pour out the entire bottle of glittery sugar on it. Grab the cake from the sides, and gently begin to roll. Once the sides are full covered, place in the freezer for 20-30 to completely set the frosting.
Now that your cake has completely set in the freezer, you can remove the top cake round. To do this, you can use a hot knife and carefully slicing through directly beneath the board.
Add more frosting to cover the top then finish adding the glittery sugar.
Step 5: Decorating with Vanilla Oreos and Frosting Swirls
To finish your unicorn glittery sugar cake, top it with decorative vanilla Oreos and frosting swirls. For the frosting swirls, use a piping bag fitted with a Wilton 1M piping tip to pipe out large, fluffy swirls of frosting on the top and sides of the cake. You can make the swirls in any color you like, matching the vibrant unicorn theme.
To create frosting swirls
Start about an inch in from the edge of the cake. Lift up slightly to build up after each full circle. Each time making the circle smaller. It should take about 3 full circles.
Step 6: Add Extra Unicorn Touches (Optional)
For an even more magical effect, you can add extra unicorn-themed decorations such as sprinkles, rainbow-colored candies, or even edible unicorn figurines. These will enhance the overall aesthetic and make your cake even more whimsical!


